
For the past several weeks, I’ve been hard at work on an update to my video production tool, MixEffect. I submitted the updated applications to the Apple App Store for approval a couple of days ago. While the iOS versions of the app were reviewed and approved overnight, it took an additional day for the macOS versions to be reviewed and deemed “eligible for distribution.”
This extra day worked out for the better, since there’s much more to releasing an app than just clicking the “Release this version” button in App Store Connect.
Over the past two days, I’ve systematically worked through my app release checklist.
- Publishing to the App Store
- Documentation
- Screenshots
- Version history
- Websites
- Product video
- Keynote presentation
- Social media posts for Slack, Discord, Facebook, Reddit, X, Mastodon, and blogs
- CloudKit database update
This post covers the things that I do before I release, as well as the tools I use to get things done.
Publishing to the App Store
Apple has streamlined the App Store submission process over the years, but there are still many crucial steps:
- Archive the project
- Upload to App Store Connect
- Edit the submission
- Submit the app
- Wait for review
- Deal with any app rejections or questions
- Release the app
Multiplying app submissions
I could write an entire blog post about these steps. The main complication with MixEffect is that there are actually four different submissions that I have to make to the App Store:
- MixEffect (Trial & Pro Unlock) for iOS
- MixEffect (Trial & Pro Unlock) for macOS
- MixEffect Pro (Paid Up-Front) for iOS
- MixEffect Pro (Paid Up-Front) for macOS
With four app submissions, that’s 28 opportunities for things to go awry!
Until I moved MixEffect over to Mac Catalyst, I only had two submissions to make. I don’t know if the same person is reviewing all versions of my app, or if I’m getting four different reviewers, each with who knows what prior experience they have with my app. Because MixEffect needs a physical piece of hardware from Blackmagic Design to work, it’s hard for a reviewer to test out all the functionality.
Common pitfalls
I’ve been asked to make product videos just for App Store Review. My app has been rejected for simple things like referring to a Mac Catalyst feature in my iOS App Store description. What’s the worst is if one platform is approved, like iOS, but App Review asks me to make changes for the macOS version. I have to increment the build number, create a new tagged release in GitHub, and go through the whole release process all over again.
Fortunately, this didn’t happen with App Review. Aside from the time it took to review and approve all four apps, there were no flags raised. Phew!
Documentation
I documentation while developing new features, avoiding a last-minute rush before release. I use Gitbook to make the documentation websites for my apps, including MixEffect, MsgFiler, and AlbumFiler. Compared to other tools I’ve used in the past, Gitbook is by far the easiest to use and makes the prettiest websites.

Screenshots
I use my app Wipe My Screen or Federico Viticci’s Apple Frames shortcut to create screenshots for my websites and social posts. My app MixEffect has a very complex interface which tends to make for cool-looking screenshots! Wipe My Screen has actions for Shortcuts to create images with any iPhone, iPad, or iPod touch that has been made.
With MixEffect 2.2.0 out, my next task is updating Wipe My Screen to support the latest Apple devices, including the iPhone 16e, 11-inch iPad Air (M3), 13-inch iPad Air (M3), and 11th-generation iPad.
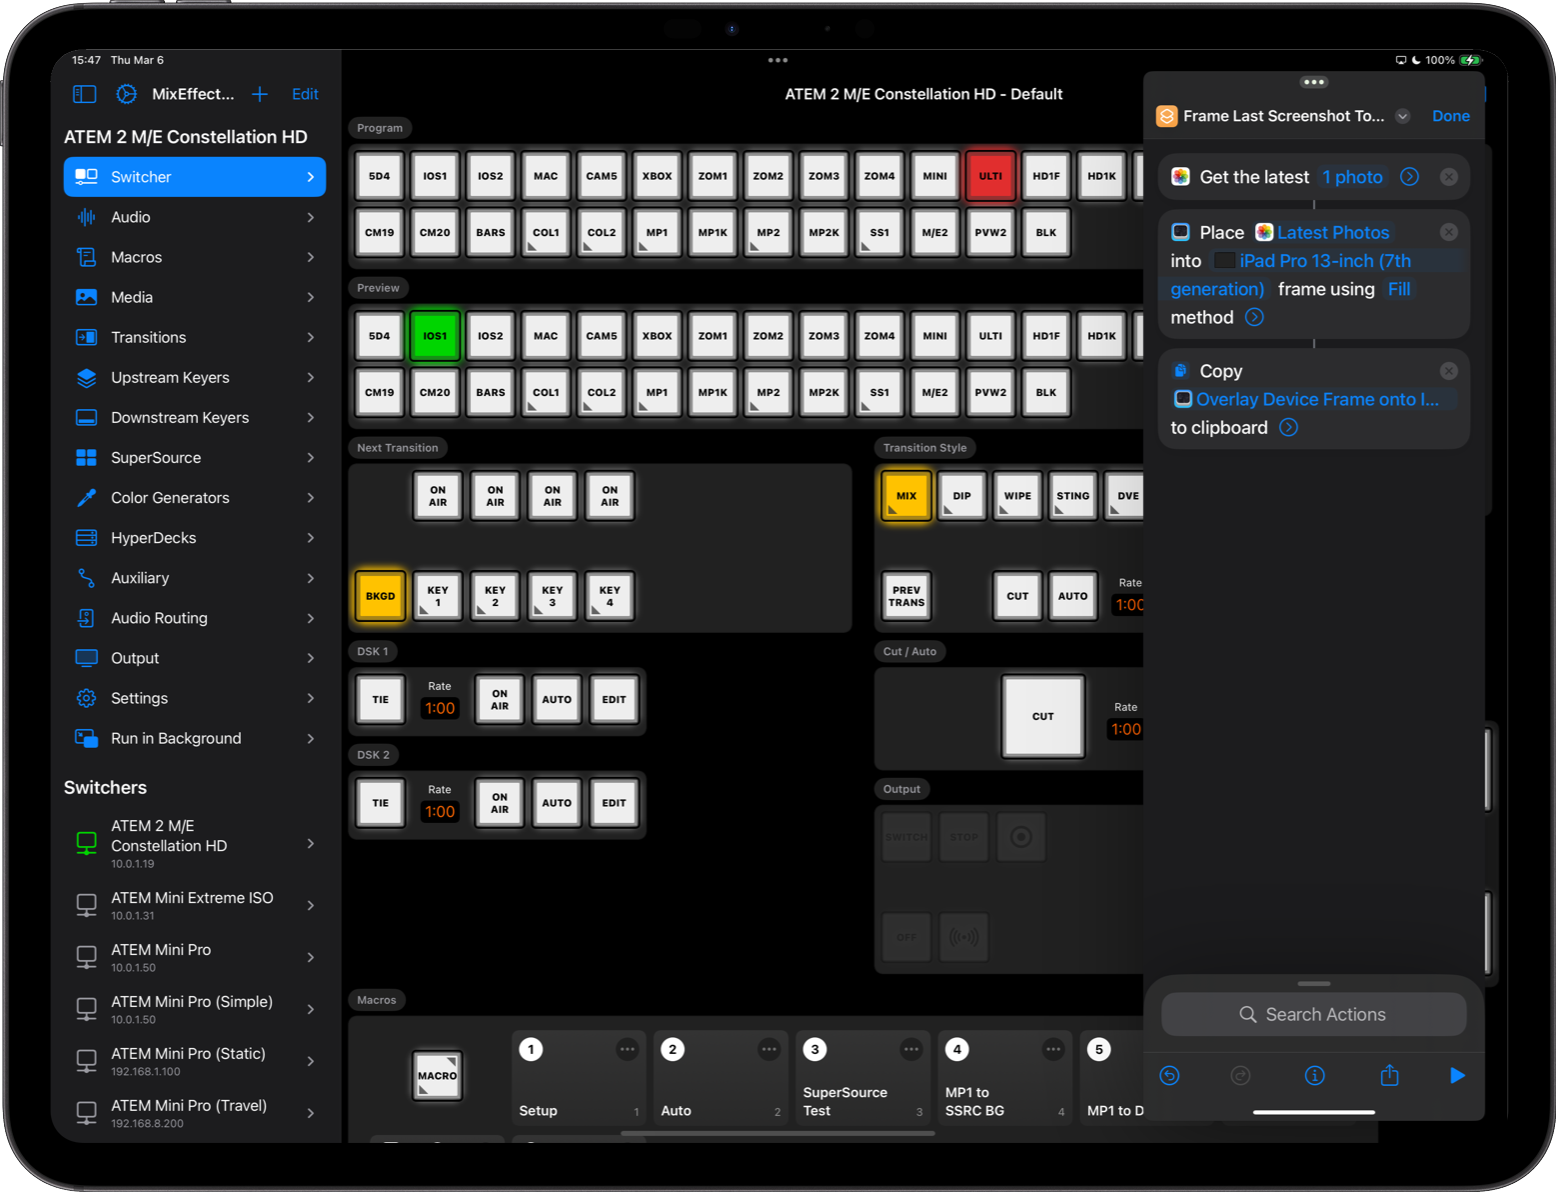
With Handoff, I can copy the image to the clipboard from my iPad and have it available on my Mac where I’m working in Gitbook.
Version History
I use Github to host my private repositories. A source code control system tracks all my code commits so I can see exactly what changed between releases.
For MixEffect, I broke down these changes into several buckets:
- New Features
- Improvements
- Bug Fixes
I use this changelog in the Version History section on the MixEffect Documentation website, in my social media posts, and on the marketing websites for MixEffect (Trial & Pro Unlock) and MixEffect Pro (Paid Up-Front).
Websites
Github is also used to host the marketing websites for MixEffect. I use Github Pages and Jekyll as the backend for these static sites. For other sites, like MsgFiler, I use WordPress.com. I’m not 100% happy with either tool, but they get the job done. Migrating to another website provider will take too much time, and I’m not willing to go down that road right now.

Product video
I tend to make product videos whenever I release an update to my apps that have significant new features. With MixEffect 2.2.0, there are several standout features, including enhanced SuperSource Box Borders support, Audio Routing, and the ability to upload images with alpha channels.
Keynote presentation
Before I start recording my video, I create a presentation in Keynote that I follow along with the viewer. I use the version history as a guide, creating sections for New Features, Improvements, and Bug Fixes. I may re-use images from the documentation that I made earlier, or I might create new screenshots to suit a given slide.
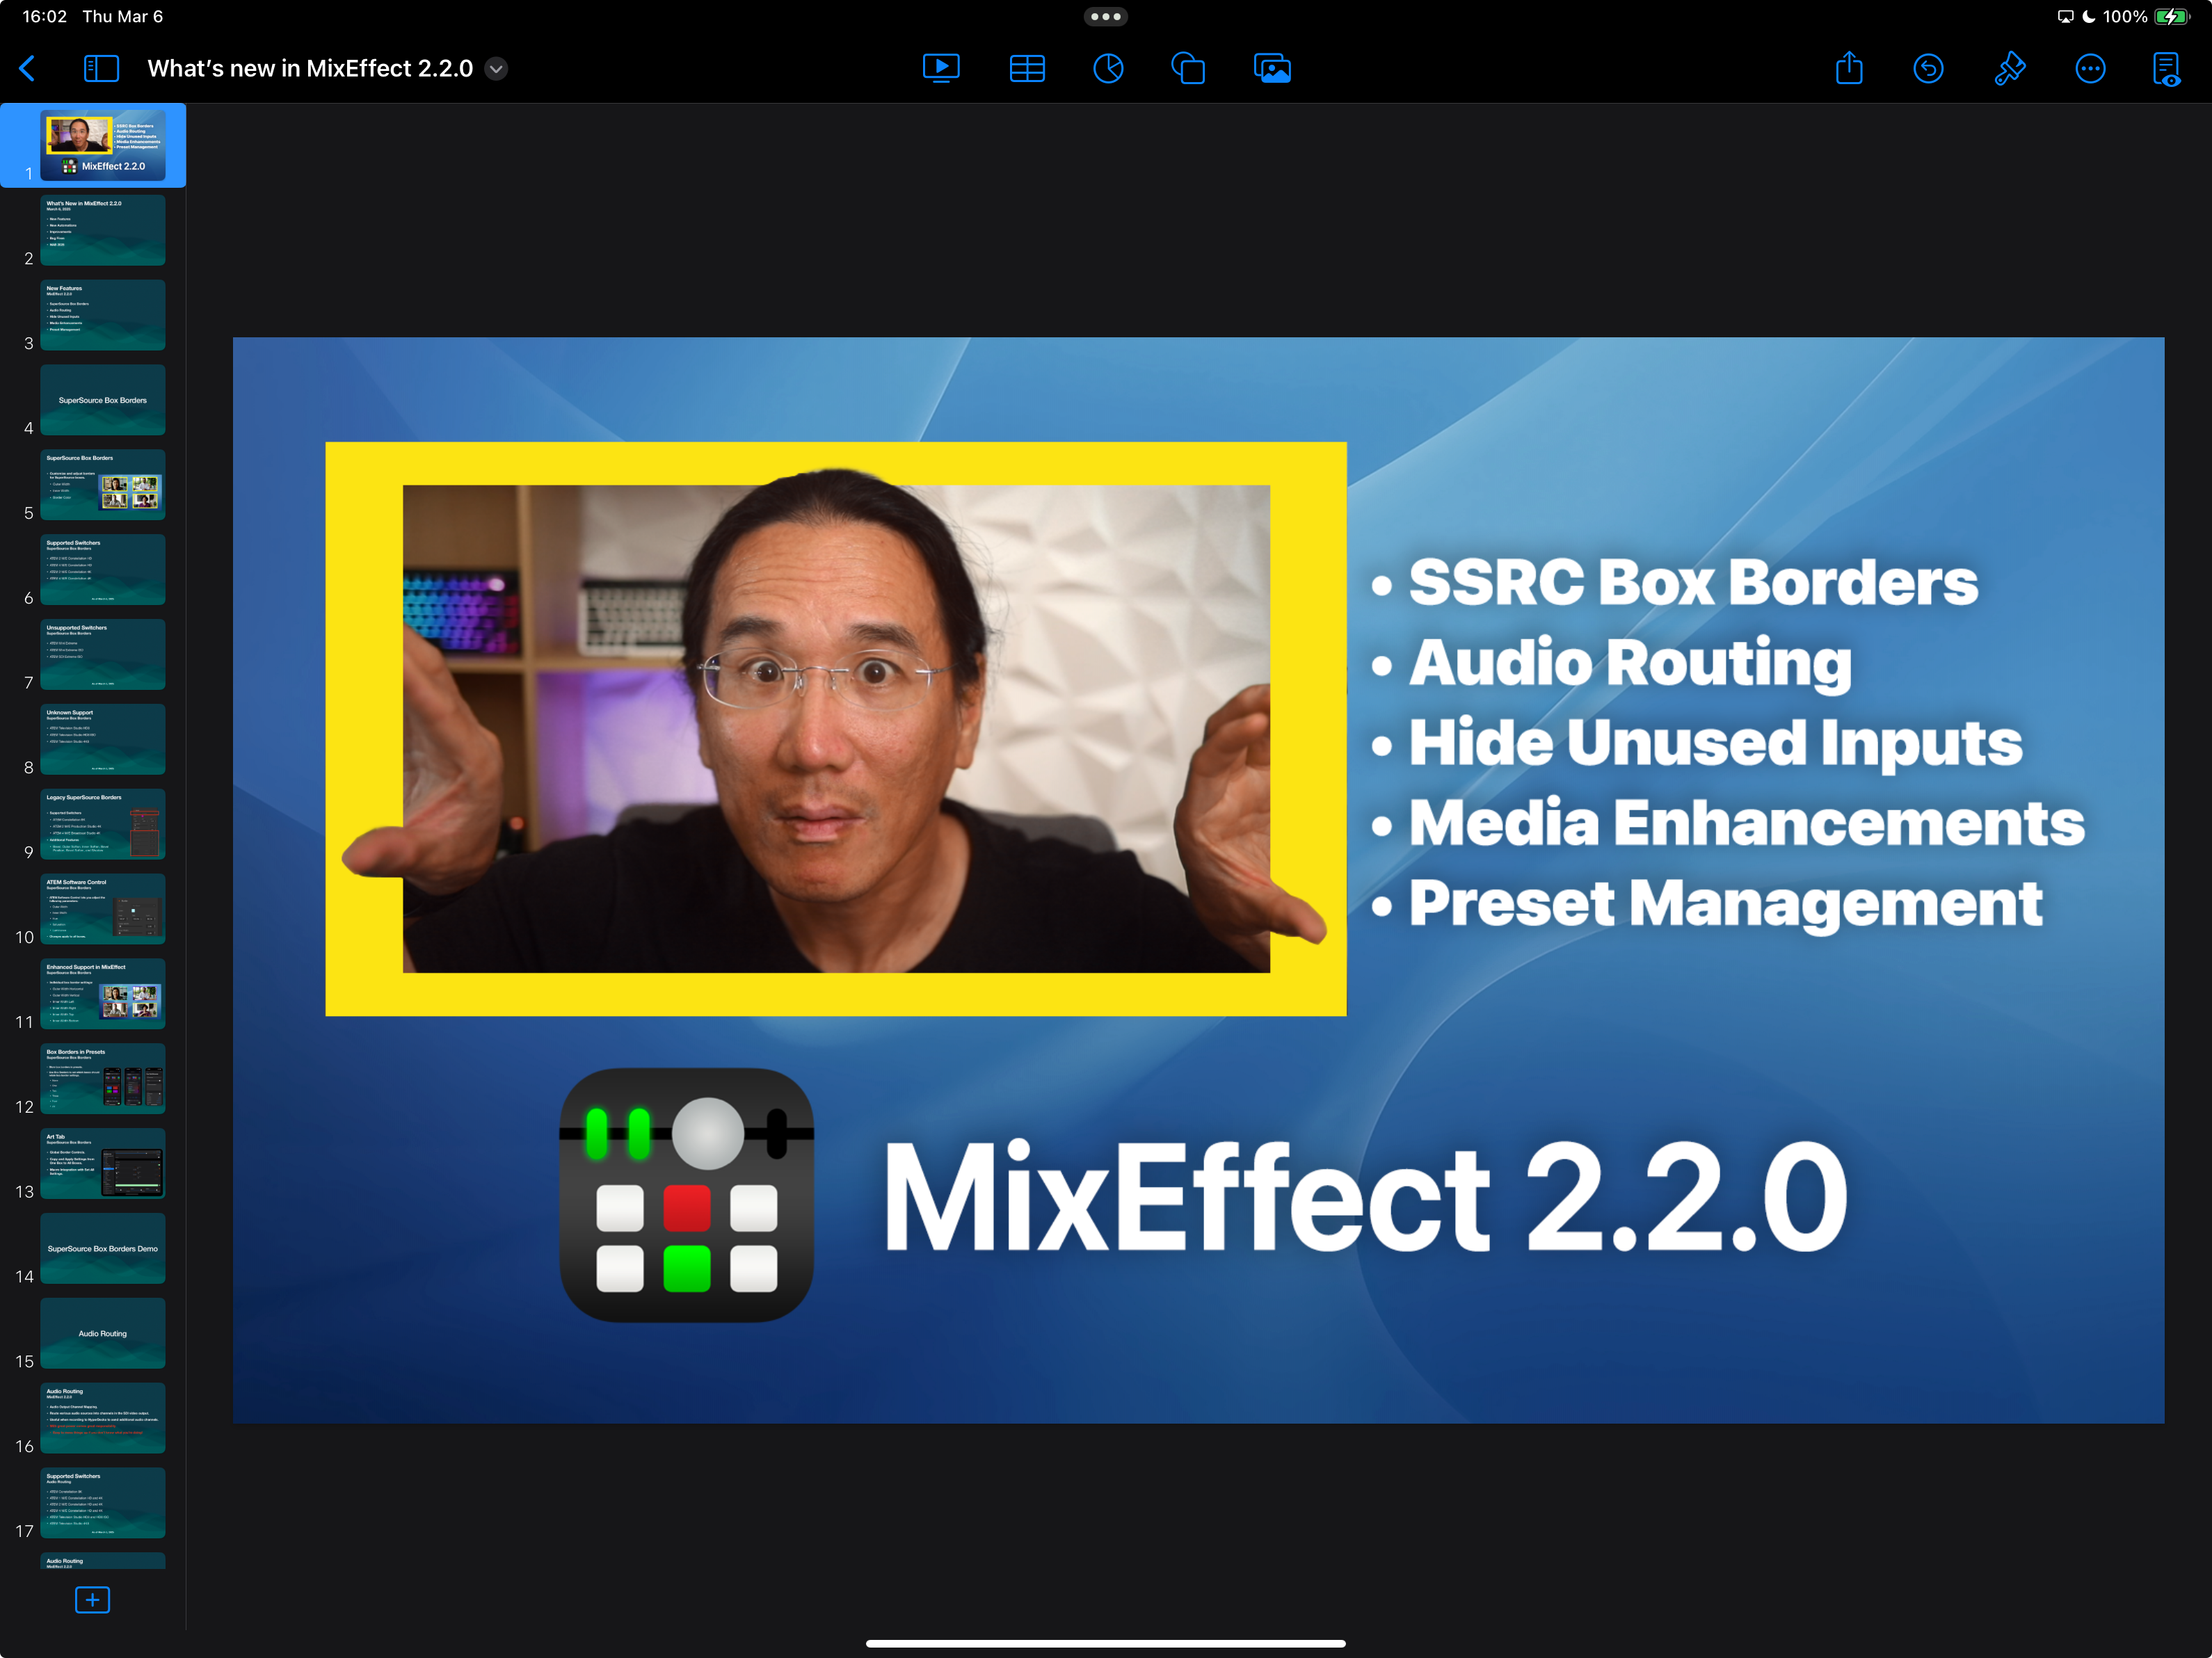
Since my tool is used for video production, I tend to leave space in the presentation for product demos.
I used my M1 iPad Pro to make the presentation. I could have used the MacBook Pro, but I was busy configuring Bitfocus Companion buttons and editing Gitbook pages. Working on the iPad, when not using Stage Manager, helps you focus on one task at a time, which is good when you’re trying to crystalize product features into bullet points.
Filming the video
I eat my own dog food and use MixEffect to produce my product videos. My Canon EOS 5D Mark IV DSLR is connected to a Neewer X14 Teleprompter. An iPad mini 6 running Better Display creates an extra monitor that I place a QuickTime Player window showing the program feed from my ATEM 2 M/E Constellation HD switcher. I see in front of the camera / teleprompter screen exactly what’s being recorded.
I employ the use of a green screen, and I use Blackmagic Design’s Ultimatte 12 HD to key in one of a dozen background video plates that I’ve made over the past year.
If I were following a strict script, I’d use FluidPrompter. Instead, I opted for a more natural, unscripted approach. If I made any mistakes, I would just pause, rewind what I was saying, and start talking again. I would only stop the recording if I flub the introduction.
Automating with Companion
If you watch my video announcing MixEffect 2.2.0, you’ll notice there’s a lot of movement on the screen beyond the Keynote slides and bullet points.
MixEffect powers all video box animations in real time. One of the hallmark features is its ability to animate the SuperSource and USK DVE boxes in real-time. Using Bitfocus Companion and an Elgato Stream Deck XL, I created a shortlist that of scenes that I can move between during the presentation.

In the screenshot above, the selected button Full Screen Demo performs the following actions when pressed:
- Sets the Program source to the Media Player 1, which is my SuperSource background art.
- Sets the Preview source to SuperSource.
- Animates the USK 2 DVE featuring my 13-inch iPad Pro (M4) to the left-hand side of the screen.
- Waits 0.5 seconds.
- Animates my USK 1 DVE featuring my Picture-in-Picture (PIP) into the upper-right hand corner of the screen.
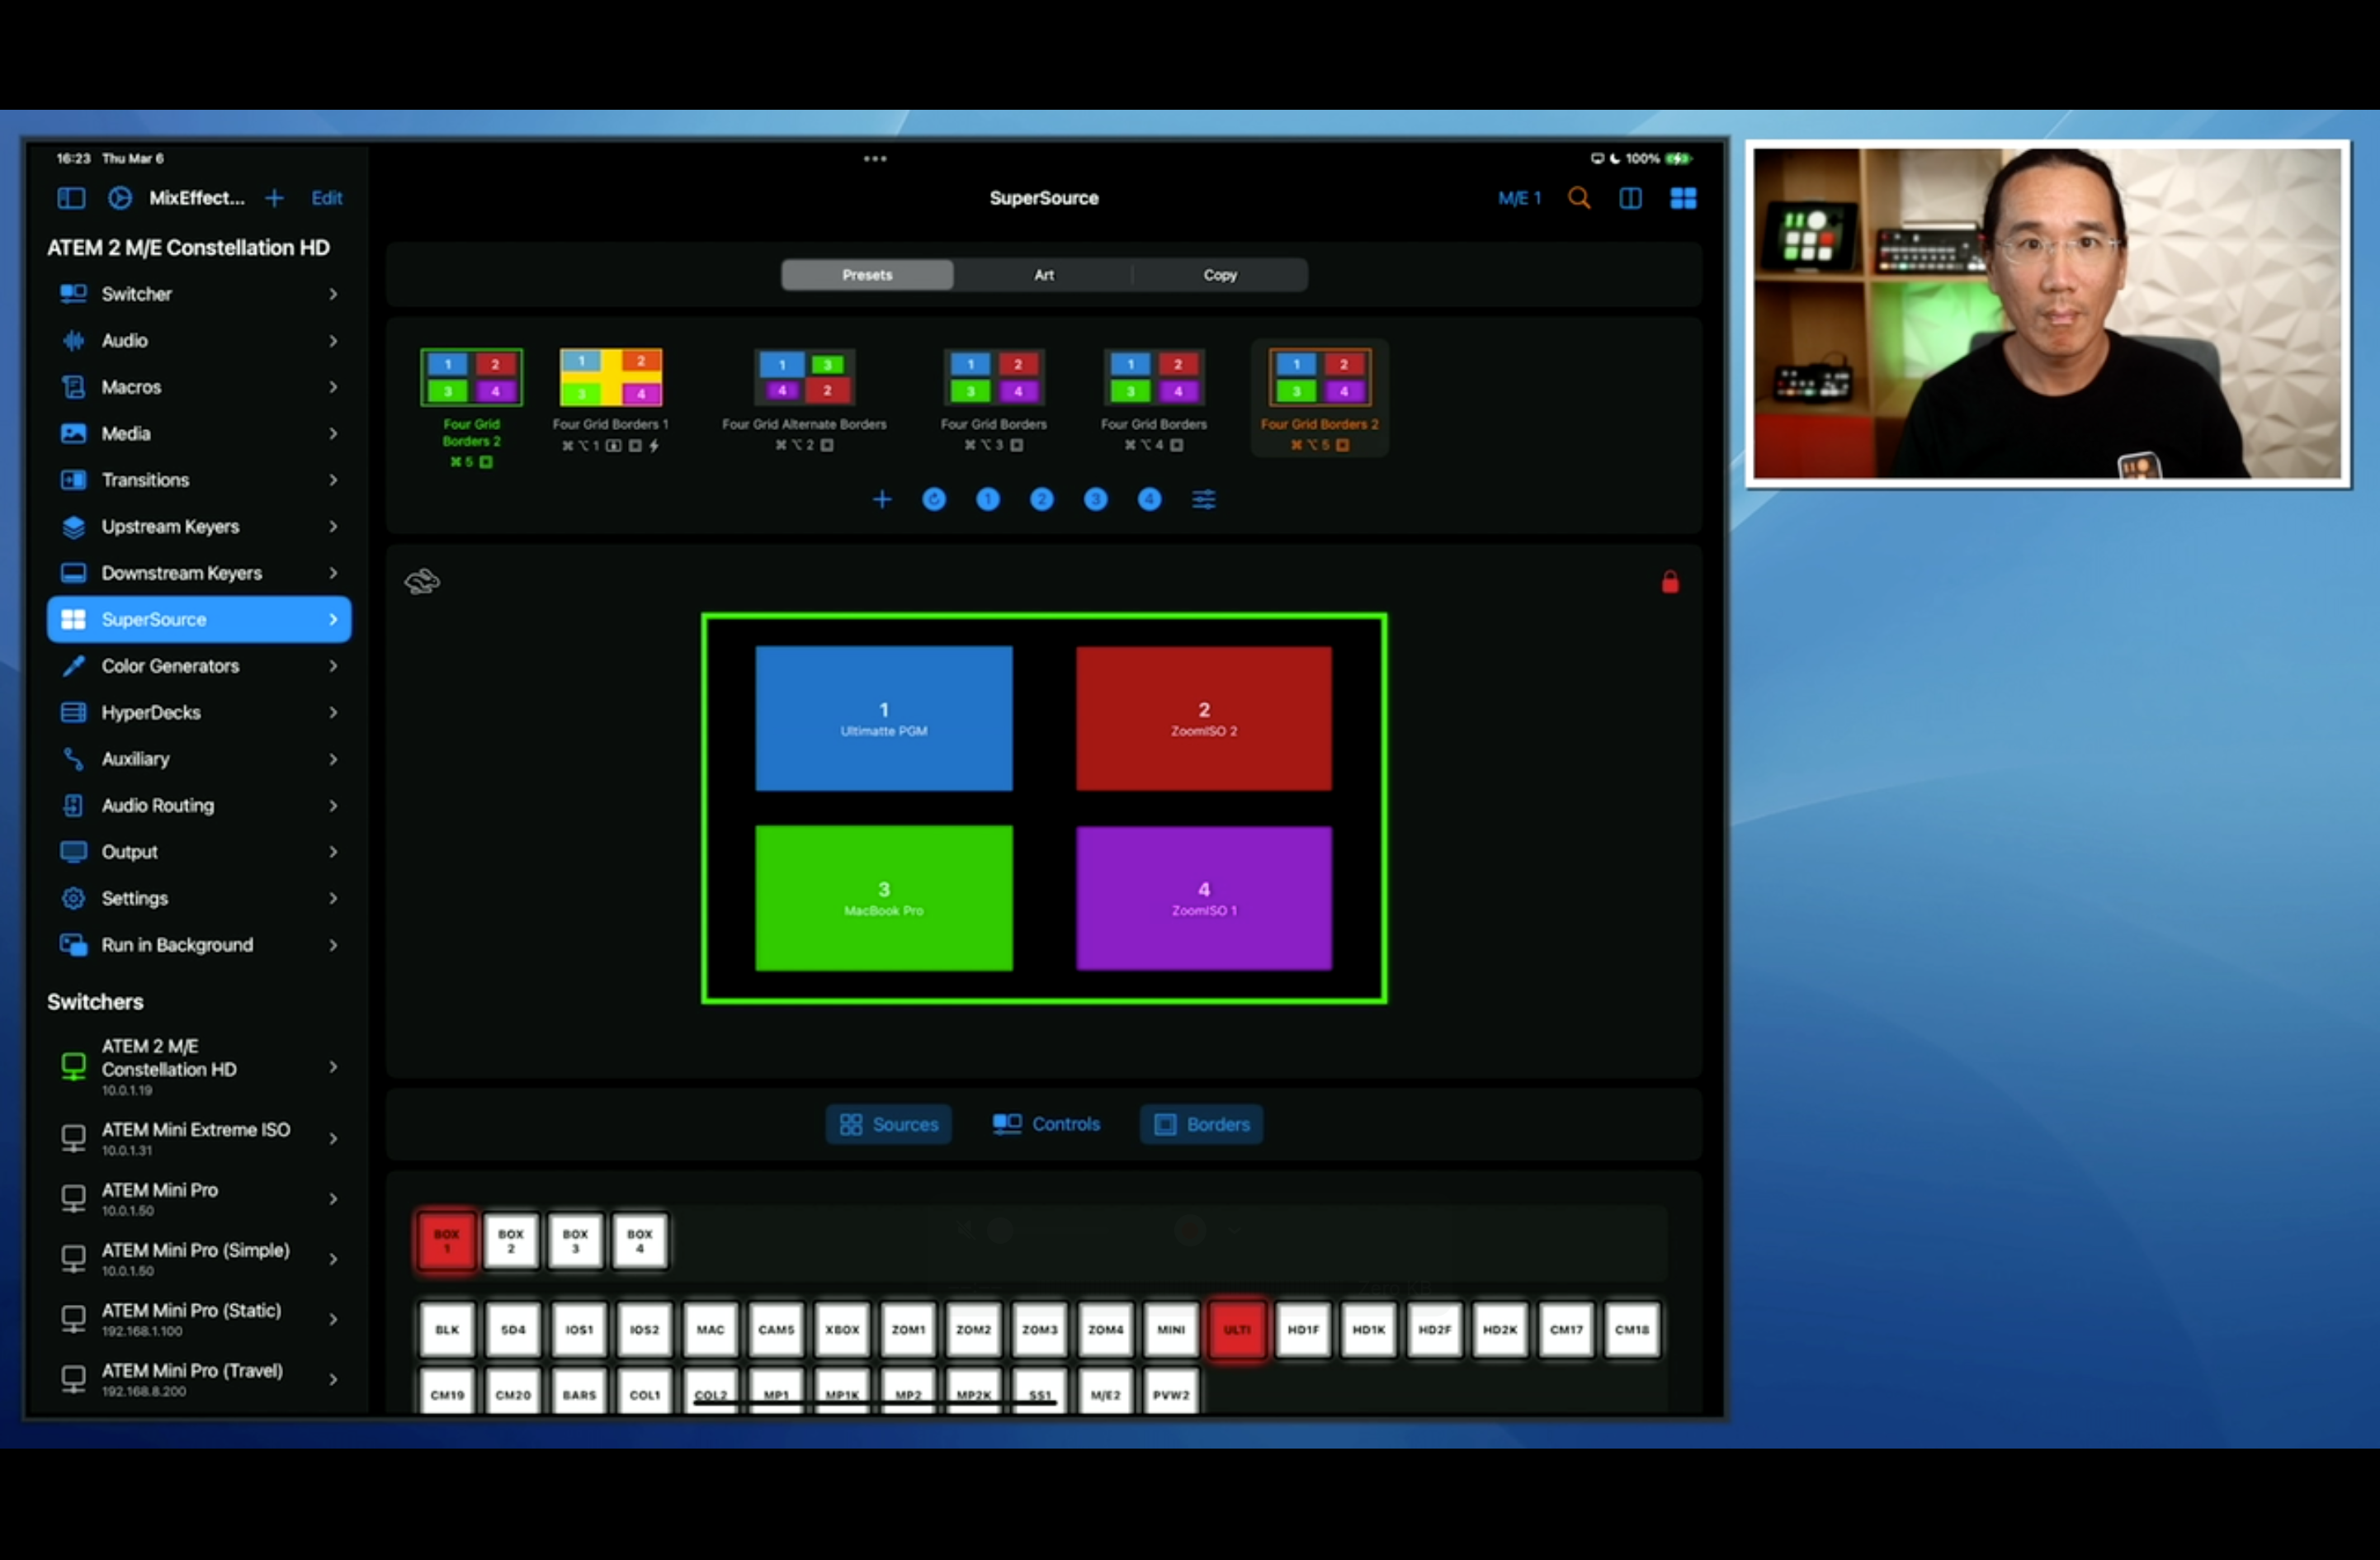
Other buttons on the Stream Deck are used to move my PIP box off-screen, position the iPad screen in different places, and switch back to the Keynote presentation.
Each video that I do is different, so I end up creating different SuperSource box movements, DVE animations, and scenes. MixEffect makes it really easy to program these scenes and recall them on the Stream Deck with a push of a button!
Editing the video
In an ideal world, I get the video filmed in one take with no mistakes. I can then just upload it to YouTube and hit publish. The real world doesn’t work like that. I might flub a line in the middle of the video necessitating a pause and re-do, or I might need to film another take. I use Final Cut Pro on macOS to edit my footage. Back in the day, Rae and I used Final Cut Pro 7 to edit and produce our documentary film, Autumn Gem. Final Cut Pro X was a radical departure from FCP7, and it took Apple many years until it became good again, in my opinion.

I’m not going to be in the running for an Oscar in editing, but I know enough to quickly produce the video. With fewer extra takes and minimal B-Roll, editing this video was relatively quick. My 34 minute video only took two and a half hours to film and edit.
Publishing the video
I use YouTube to distribute my videos. The resulting file was 2.1 GB, which I uploaded over a pokey 40Mbps upload connection (on a good day) via Comcast Xfinity cable internet.
One challenge is my slow upload speed—Comcast Xfinity’s 40Mbps upload pales in comparison to fiber options available just across the street. If I had a faster internet connection, I might update to a 4K workflow. Seeing that I’m rate-limited, it’s HD for me for the foreseeable future.
Social media posts
The app has been released, the video has been published, and the documentation and marketing websites have been updated. Now it’s time to promote the app! I currently post and cross-post to various sites, including:
- MixEffect Facebook Page
- MixEffect subreddit
- X / Twitter
- Mastodon
- A/V related Discords and Slack communities
- MixEffect Labs blog
Depending on the release, I might also post on various live production forums. Some sites have restrictions on personal promotion, and it’s a difficult balancing act when it comes to my product releases. After all, I have thousands of customers who use MixEffect who might frequent those forums. But there might be others who think I’m self-promoting.
CloudKit Dashboard
Finally, if I’ve made any changes to the underlying database schema for my app, I have to push those changes from development over to production in Apple’s CloudKit Dashboard.
Now I rest, right?
The checklist is now complete, and I can now rest, right? Not exactly. I have to watch my email, forums, YouTube comments from people who are getting their hands on the updated app. There might be bugs that I missed, enhancements that I need to add to my to-do list, or support requests to answer.
If I’ve done my job well, support should be manageable. People across the world will get the update to MixEffect and their video productions will be taken to the next level with the new features and enhancements.
Concluding thoughts
Releasing an app isn’t just about pressing a button—it’s a meticulous process of publishing, documenting, promoting, and supporting users. With this app release checklist, I ensure each release goes smoothly and customers get the best experience possible.
Indie developers, what do you have on your checklists? Share your best practices in the comments section below!
Product links
- Neewer X14 Teleprompter
- Elgato Stream Deck XL
- Blackmagic Design ATEM 2 M/E Constellation HD
- Blackmagic Design Ultimatte 12 HD
Disclaimer: This post may contain affiliate links. If you make a purchase through one of these links, I may earn a small commission at no additional cost to you. Thank you for supporting my blog!


Leave a comment