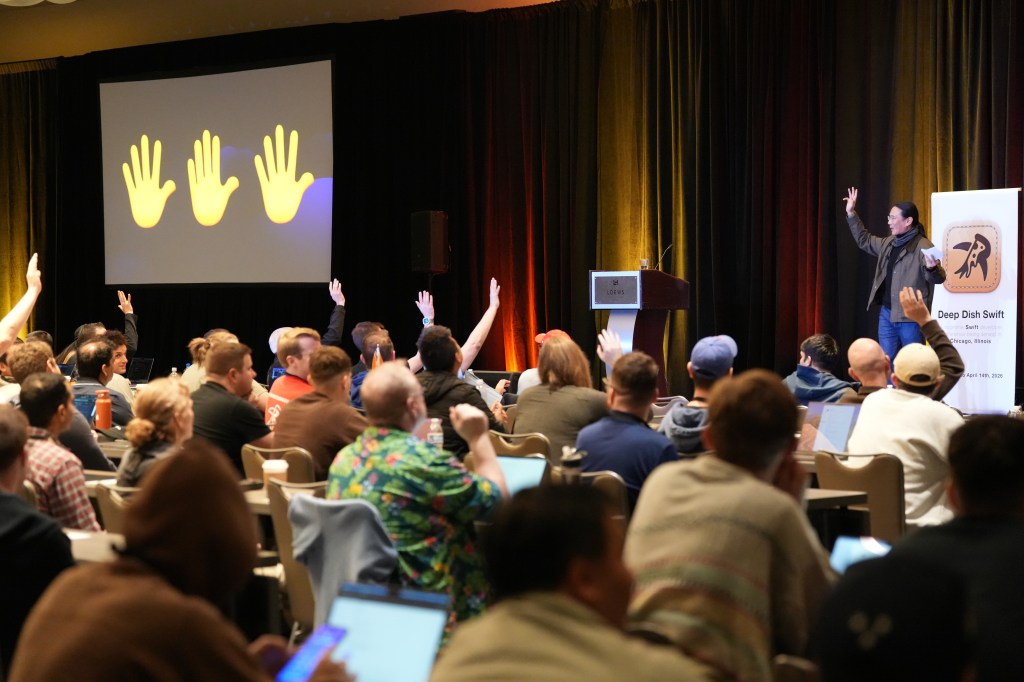
Monitor and Printer Profiling — closing the color management loop — was the feature presentation during the February 9, 2005, COBA meeting. I’ve been wanting to get my 17″ Studio Display and my 12″ PowerBook monitors profiled correctly for quite some time. Though I have a ColorVision Optical Spyder (a better performing Spyder 2 is now available), I haven’t been very happy with its performance. Marie and Harold brought two well regarded hardware calibrators, the Monaco Optix XR and the GretagMacBeth EyeOne Photo.
There are numerous variables to keep track of when calibrating your monitor. The important thing is note is keep as many of the variables constant between calibrations, such as light level in the room, the white point selected for the monitor (i.e. D65 or Native), and the brightness of the monitor. Despite doing this, the calibrators all profiled and calibrated the monitors slightly differently from one another. Harold noted that software makes a big difference in calibration quality. I’m wondering if the Spyder’s calibration deficiencies is more due to software inadequacies instead of hardware ones.
In the end, the EyeOne Photo’s monitor profile was more yellow/green than the Optix’s, which was warmer/red. I’ll have to compare the prints with the monitors in order to determine which profile will be used. You should also recalibrate your monitors every few weeks, as their colors may shift over time.
I also showed the differences between using a custom third-party generated printer profile versus using the printer-supplied profile. I had gotten a custom profile for my Epson 1280 using Epson’s Heavyweight Matte paper from CathysProfiles.com ($40). In comparing the results from the two profiles, I noticed that the Epson profile gave the prints a slight yellow cast. The custom profile was cooler and seemed better in its overall rendering of the image. I had a cake photo that looked pretty bad by both profiles; talking to the group, I discovered that much of the colors in the image (roses with saturated yellows, pinks, and oranges) were out of the gamut. As a result, I’ll have to reprocess and reprint these images again.
There were a number of COBA members who spoke highly of using Image RIP’s to print their images. RIP’s basically replace the printer driver and interface directly between the printer. Mark, Gil, and several others said that RIP’s have solved all of their printing issues. Another upside to them is that they provide paper profiles for all types of paper. If one were to get custom profiles for each paper combo, it would cost a pretty penny. RIP’s are expensive, but over the long run, it might be a less-expensive choice to custom profiles.
Eric recently got a Sony Artisan, an extremely well regarded self-calibrating CRT monitor, and he now swears by it. Listening to him and to those who recommended a Image RIP, I’m thinking the easiest — and unfortunately the most expensive — way to close the color management loop in my house is going to cost $3000!
Following the monitor and printer profiling session, I spoke once again about the Visible Dust Sensor Brush. More people seemed eager and brave enough to use this product this time around, especially after I cleaned Brian’s 1D and displayed the before and after photos. His camera had a remarkable amount of dust that could be visibly seen on the sensor! Statically charging the Sensor Brush with a spritz of compressed air and brushing it across the 1D’s sensor removed most of the dust, as you can see in the photos below (auto-levels on the images was applied to make it more evident). There were still a few pieces left on the sensor. Using a SpeckGrabber or a Sensor Swab should finish the job. I’ve found there’s no one solution for dealing with sensor dust; use whichever method or methods to get the job done.
Couple of questions came up regarding the Sensor Brush:
- What’s the lifetime rating of the Sensor Brush?
- How do you clean the Sensor Brush?
- How much does it cost?
According to FAQ the Sensor Brush is “designed to last a very long time,” and that “you can use mild detergent devoid of creams, bleaches, and oxidants. A simple mild soap will also do the job. In addition you may use Isopropyl rubbing alcohol, 99% Isopropanol or Ethanol alcohol to wash the brush fibers. After cleaning let the brush dry and then blast it with air to separate the filaments.” Regarding price, the Sensor Brush goes from $90-$110 depending on the size of your image sensor. Expensive, yes, but worth if dust is a frequent concern of yours.


Leave a comment