
Imagine you’re at Disneyland with the family. You’ve decided to tote around your DSLR or mirrorless camera with you on the trip. You’re happily taking photos of your little ones as they experience their first time on Dumbo the Flying Elephant, It’s a Small World, Haunted House, Pirates of the Caribbean and other rides that you loved as a kid. You just captured this wonderful photo of your child and Tow Mater at Radiator Springs, and you absolutely have got to share this with your friends and family on Facebook.
 Do you:
- Fumble around in your camera bag for a cable and dongle to connect your camera to your smartphone?
- Turn on Wi-Fi on your camera (if available), connect to it from your smartphone, launch the camera connect app, wait for the connection to be established, select the photo, and download it to your phone?
- Tap your smartphone to your camera if they both support NFC, wait for the connection to be established, select the photo, and download it to your phone?
- Hope your wireless SD card (Eyefi, FlashAir, etc.) is working properly and your phone is connected to it to receive photos?
- Wait until you get home before downloading the image (and let that social moment pass you by)?
- Take another photo with your smartphone and share that image on Facebook instead of the one from your bigger camera?
- Say forget it, and keep the photographic proof to yourself?
There’s no reason why getting a photo from a dedicated camera to the smartphone or tablet should take so many steps and be so cumbersome, yet that’s the reality many photographers face today. Some argue this is precisely why sales of point-and-shoot, mirrorless, and DSLR digital cameras have fallen so much in recent years. Smartphones’ ability to share good enough photos trumps the boost in image quality from a dedicated camera for many people.
For the past several weeks, I have been developing a workflow that addresses this problem for me. It currently requires a certain kind of camera, namely the new Canon EOS 5D Mark IV, and some additional hardware and software. This workflow transforms my camera into a fantastic tool that marries the sharing convenience of the smartphone with the impressive image quality of a DSLR. Photos taken with this setup are automatically, securely, and conveniently transferred to the smartphone and cloud photo services of my choosing, including iCloud Photo Library, Google Photos, and Dropbox.
My solution requires some initial setup, but once implemented, it’s awesome! Perhaps it can inspire camera manufacturers and software companies to provide a better experience for dedicated digital cameras in the future.
Pick any two: Quality, portability, and convenience

Before we dive into the technical details, I’d like to take a moment to describe my photographic journey over the past few years. Friends and longtime readers of my blog will recall that I have owned a DSLR camera since the turn of the century (the Canon EOS D30). I took that camera and its successors everywhere, and have captured many memories that I cherish today.
Four years ago, I stopped carrying my then principal camera, a Canon EOS 5D Mark II, in favor of a Canon PowerShot G1X. I wanted something that didn’t compromise on image quality but came in a smaller package. It was an okay camera, but I found myself annoyed by its slow interface, controls, and auto-focus. Two years later, I gave the G1X away to a family member and began using an iPhone 6 Plus (eventually the 6S Plus) as my primary camera. The size was right and the image quality reached my level of being good enough.

As for the 5D Mark II, it would only come out at family gatherings, the occasional job, or when I was feeling photographically adventurous. Whenever I looked at the 5D photos, I always thought to myself, “Man, the image quality is so good. Why am I not taking more photos with this camera?” The answer was obvious; I had become spoiled with the size of the iPhone and the ability to share photos immediately. With the 5D Mark II or G1X, it was too much of a hassle to:
- Take out the memory card
- Insert the card into the computer
- Download and rename the photos using Photo Mechanic
- Import the photos into Lightroom
- Select and process the photos
- Export photos
- Share photos
- Backup the photos to my two additional offline hard drives
As a result, I frequently neglected to import images from the 5D Mark II or my G1X for sometimes days or weeks.
Smartphone image quality continues to improve, and hardware and software advances — such as the iPhone 7S Plus’ dual lens and portrait mode — are creating photos that begin to approach the look from larger and more expensive digital cameras. That said, image quality from dedicated cameras (mirrorless and DSLR) remain better, especially in low-light, high-ISO situations. Ultimately, with my iPhone, I am trading quality for convenience and portability.

How camera manufacturers have responded
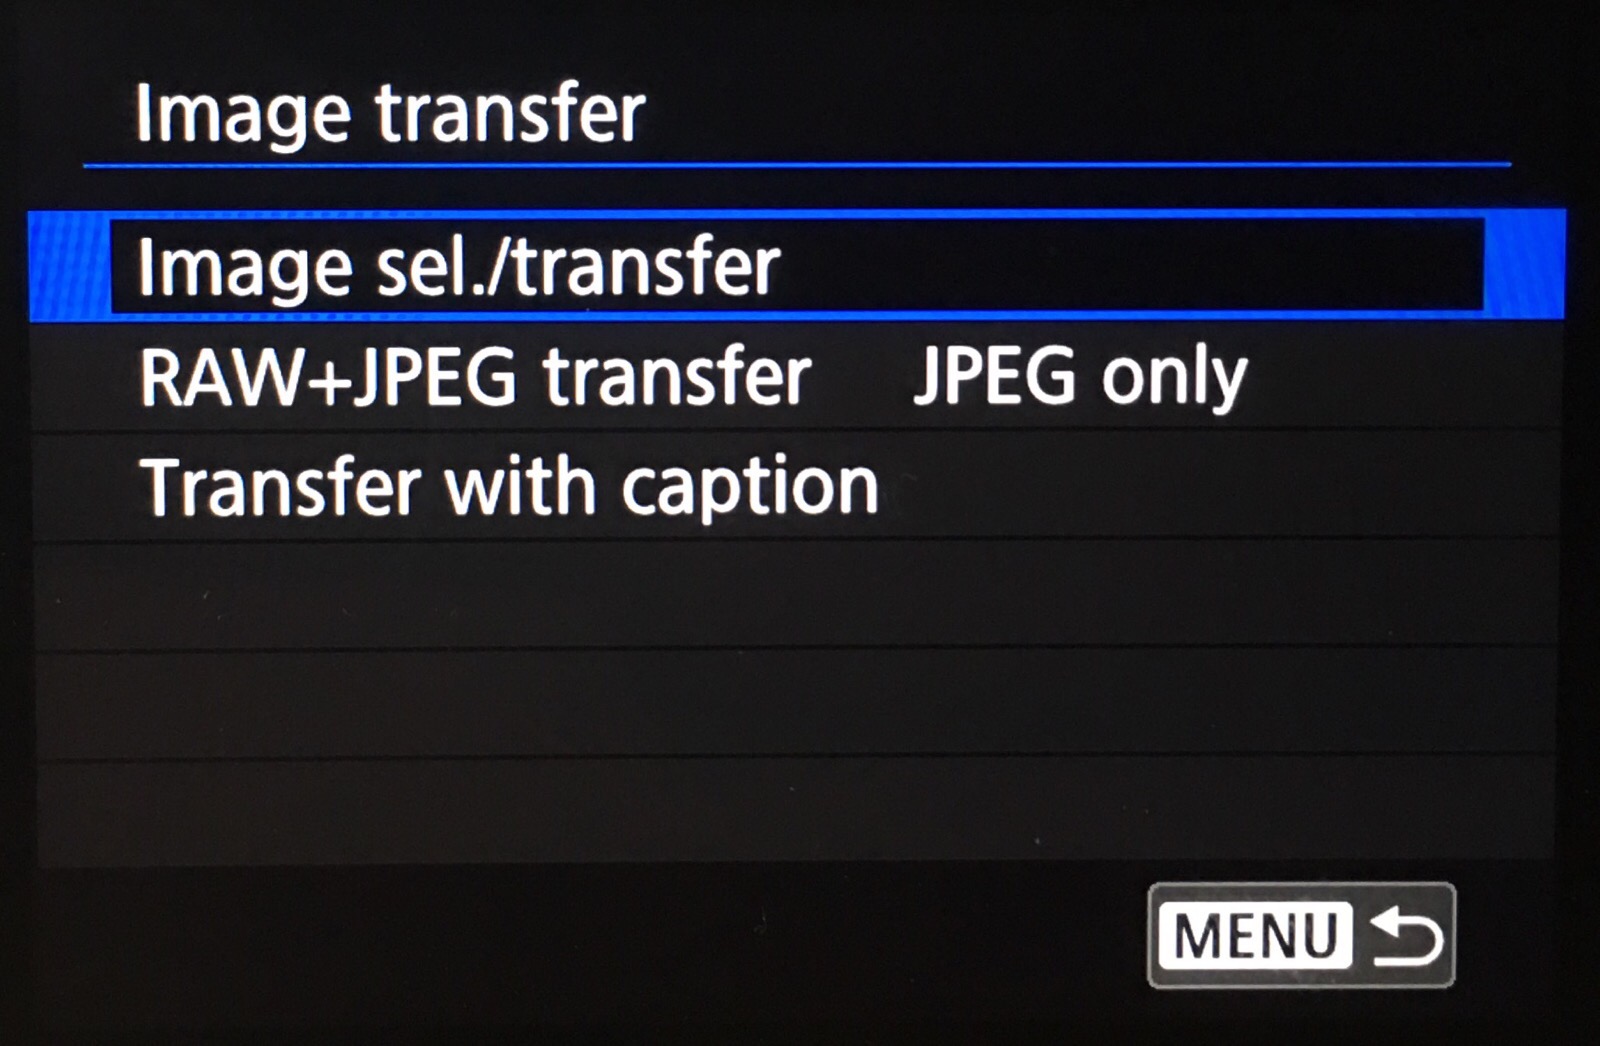
An approach by camera manufacturers to entice customers to purchase and use dedicated cameras has been to add Wi-Fi and NFC communications to their cameras. Special software on the smartphone connects it to the camera, allowing the photographer to retrieve photos from or control the camera remotely. Camera companies have also created various image gateways whereby users can send images straight from their cameras to social sharing services like Facebook and Twitter. However, the user interfaces for these gateways are often clumsy and convoluted; it’s easier to do this from the phone. For users of these cameras, the workflow has been something like this:
- Take photos
- Turn on Wi-Fi in camera
- Connect to camera Wi-Fi network from smartphone
- Open corresponding camera smartphone app
- Wait for connection to be established
- Select photos to transfer from camera to smartphone’s camera roll
- Share photos
- Repeat every time you need to grab photos from the camera
If you have an NFC-capable camera and phone, the process is a little simpler:
- Take photos
- Open camera smartphone app
- Tap camera and smartphone at NFC sensor
- Wait for connection to be established
- Select photos to transfer from camera to smartphone’s camera roll
- Share photos
- Repeat every time you need to grab photos from the camera
In both cases, the user has to manually select which photos to transfer; it doesn’t happen automatically. This might be fine for transferring one or two photos, but doing the same routine dozens of times during the day can get tedious.
Nikon’s Snapbridge
Nikon has been using Bluetooth Low Energy (BLE) in recent cameras to create an always on connection to smartphones and tablets with minimal battery drain. Purportedly, this allows the camera to automatically send resized 2 megapixel JPEGs to devices even when the camera is asleep. There is a glowing review of the Snapbridge-capable Nikon D500 on The Verge (disclaimer: I work for The Verge’s parent company: Vox Media) in which the writer shares the same excitement over the ability to get his images directly from the camera into his phone. A look at reviews of Snapbridge on the iOS App Store, however, paints a different picture, with multiple reports of people having difficulty getting their cameras and iOS devices to pair. Some even claimed Snapbridge ruined their Christmas this year! Hopefully this is something that Nikon can easily resolve, because it seems like it’s a good solution.
Why not use Eyefi or another wireless memory card?

Companies like Eyefi used to sell Wi-Fi enabled SD memory cards that communicate directly with the smartphone or to the cloud. This allows dedicated cameras to gain wireless capabilities that they otherwise would not have. Ricoh bought the software assets of Eyefi earlier this year and rebranded the service to Keenai. In addition to uploading it to the Keenai Cloud (a $50/year subscription for unlimited RAW and JPEG uploads), the mobile app has an option to save transferred images directly to the Camera Roll, which is the closest to what I want to achieve. On iOS, the app does needs to stay open in order to receive the images; the phone can’t go to sleep or the connection with the wireless SD card will be interrupted. In addition, while it’s something that most users hopefully will not experience, Eyefi and Toshiba FlashAir cards are susceptible to a number of hacking attack vectors. I wasn’t able to take advantage of Eyefi cards in my 5D Mark II, since it used Compact Flash memory cards. And, the cards that I did use with the G1X broke after just sporadic use (tabs broke off and the card housing split into two pieces). When they did work, it was nice. Overall, however, I found myself not being able to rely 100% on the cards on a daily basis. I’ll concede that the hardware quality may be improved today with the mobi and mobi Pro cards, but I’m skeptical of the long-term support for them, given the Ricoh acquisition and Toshiba’s purchase of Eyefi’s hardware assets. Additionally, I would prefer a service in which I have more control over where my photos are going.
There’s an adage that the best camera is the one that you have with you. I’d like to posit a corollary to this: in the internet age, the best camera is the one from which you can retrieve and distribute the photos the quickest.
Enter the Canon EOS 5D Mark IV
All this brings me to the recent release of the Canon 5D Mark IV in August, 2016. Not only did the camera have built-in Wi-Fi to connect to smartphones and tablets, it also had a feature that was overlooked by most reviewers of the product: the ability to send files over Wi-Fi to remote servers using FTP and FTP Secure (FTPS). Now, the Mark IV is not the first DSLR from Canon with built-in Wi-Fi — that crown goes to the Canon EOS 6D, nor is it the first to support file transfers using FTP. Canon DSLRs as far back as the EOS 1D Mark II and the EOS 30D could use expensive and often bulky Canon wireless file transmitter (WFT) sleds, battery grips, or dongles to gain Wi-Fi and FTP capabilities. What’s unique is that it’s the first Canon DSLR to have Wi-Fi, FTP, and FTP Secure built right into the camera, no adapters or sleds required.

This remarkable feature set is precisely what enables my new workflow. Each piece of the pie does exactly what it does best. The camera takes great photos that it automatically and securely uploads to a remote server. From there, the server does what servers do best, process and dispatch files to other locations. The cloud automatically pushes the photos to my iPhone. Finally, I use the tools I’m most familiar with on the phone to edit, sort, and share these images.
With this 5D Mark IV setup, I get quality and convenience. Size is still an issue, but this is a tradeoff worth taking because the images are so good and are now so easy to share. Here are my steps for sharing photos from my 5D Mark IV:
- Turn on Wi-Fi on camera and connect to active Wi-Fi network
- Take photos
- Photos automatically arrive on the smartphone within seconds
- Share photos
That’s it. I don’t have to launch any app or make sure a particular app is running at the time I take the photos. It’s set it and forget it, and the photos appear like magic.
Workflow details

The basic gist of my workflow is as follows:
- 5D Mark IV connects to Wi-Fi, be it to Personal Hotspot on the iPhone or to any Wi-Fi network.
- Photos taken by the camera are transferred via FTP Secure to a Mac Mini server at my home.
- The server imports the photo into Apple Photos, uploads to Dropbox, Google Photos, Amazon Prime Photos, etc, and sends notifications to the user via Messages.
- The user can work with the images from either the Photos app on the phone or via Messages (if on a cellular connection).
Requirements
First, a list of hardware and software requirements:
- Canon EOS 5D Mark IV
- Mac Mini running macOS Server
- FTP server software capable of FTPS: Rumpus, pureFTPd, or FileZilla Server (Windows only)
- Dynamic DNS service
- Hazel and Exiftool or Photo Mechanic
- Dropbox
Mac Mini
One of the key requirements to this workflow is having a computer that’s running an FTP Secure server 24/7. My primary laptop is out of the question, since it’s constantly moving between online and offline status when I go from home to work. I have an old 2008 Mac Pro, but that’s too power hungry today to be running all the time.

Enter Apple’s neglected but lovable Mac Mini, which hasn’t seen an update since 2014. I originally developed this solution with a borrowed mid-2010 Mac Mini Server (4GB RAM with a dual 500GB hard drives in a RAID-0 configuration), but I am now using a 2014 Mac Mini (16GB RAM with a 256GB SSD) that I found for a great price on eBay. Consider repurposing an old computer in the house or buying a cheap Mac Mini off of eBay (I recommend a mid-2010 and up model, since it supports macOS Sierra). Ultimately, this doesn’t have to be an expensive computer, and something from six years ago might still fit the bill.
Though it is not required if all you want to run is an FTPS server, macOS Server was added so I can use the Mini as a VPN server. This allows me to securely access computer and files on my home network when I’m away. And, I can securely tunnel all of my internet traffic if I find myself on an insecure public Wi-Fi network (caveats apply).
The Mac Mini is running headless, meaning there’s no monitor attached to it. I connect to it on the Mac using Apple Remote Desktop and on iOS with Screens. The computer is very power efficient, so my electricity bill will scarcely register a dent (unlike if I used my 2008 Mac Pro).

The computer doesn’t even have to be located at home. If you’re willing to spend a monthly fee, you can have it hosted at a place like Linode or Macminicolo (now part of Mac Stadium) and have access to a really fast inbound and outbound network.
Finally, I’ve set up the computer to login automatically to a standard (not administrator) user account. This user is logged into my iCloud account for iCloud Photo Library. I am also using a separate AppleID for Messages, which acts as a pseudo-bot for sending me photo import status updates.
FTP Secure: the need for security
FTP is a fine file transfer protocol… three decades ago. It was not designed with security in mind. Usernames, passwords, and data are sent in the clear. Without any encryption, anyone who can sniff the traffic on the network can grab your server credentials and files being sent over FTP. In this heightened age of Internet privacy, that’s not a good idea! On the other hand, FTP Secure, or FTPS, is a secure form of FTP that uses the same SSL/TLS protocol that encrypts your HTTPS connections to secure websites.

If the number of cameras that support FTP is small, the number that supports FTPS is even smaller! As I wrote above, I have found only two cameras that support FTPS: the 5D Mark IV and the Canon EOS-1Dx with the WFT-8A.
Do note that although FTPS makes file transfers secure between the camera and your FTP server, the camera may remain vulnerable to other forms of attacks. If you’re interested, this white paper called Paparazzi over IP goes over the methods researchers Daniel Mende and Pascal Turbing used to hack into and control wireless cameras such as the Canon EOS 1Dx with the WFT-E6A wireless file transmitter.
Setting up an FTPS server
There are several options for installing an FTPS server on a desktop computer, from the free (BSD) pureFTPd and FileZilla Server (for Windows only) to the commercial Rumpus from Maxum. I couldn’t use the built-in server in macOS Server since it doesn’t support FTPS. I tested all three servers and ended up using Rumpus since it provides a nice GUI for configuring the server.

Opening up ports on your router
In order for the camera to access the FTPS server, ports need to be opened and forwarded on your home router. I’m using the rumored-to-be-discontinued AirPort Extreme wireless router from Apple and had some problems getting the Airport to forward FTP traffic over the usual port 21. Changing the port to 2121 got things working again. I also had to open ports 3000-3008 that Rumpus uses to transfer the data via Passive FTPS. If you’re using your computer as a VPN, be sure to open up those ports in your router.

Set up a dynamic DNS
Next I needed a way to consistently access my server from the outside world. Most people’s home broadband connections have dynamically assigned IP addresses. Using a dynamic DNS service allows one to have a human-readable address for the home that stays the same, even if the IP address changes. FreeDNS, No-IP, DuckDNS, DNSdynamic, or Dynu provide free and paid options to get you started.
Connecting the camera and taking the first photo
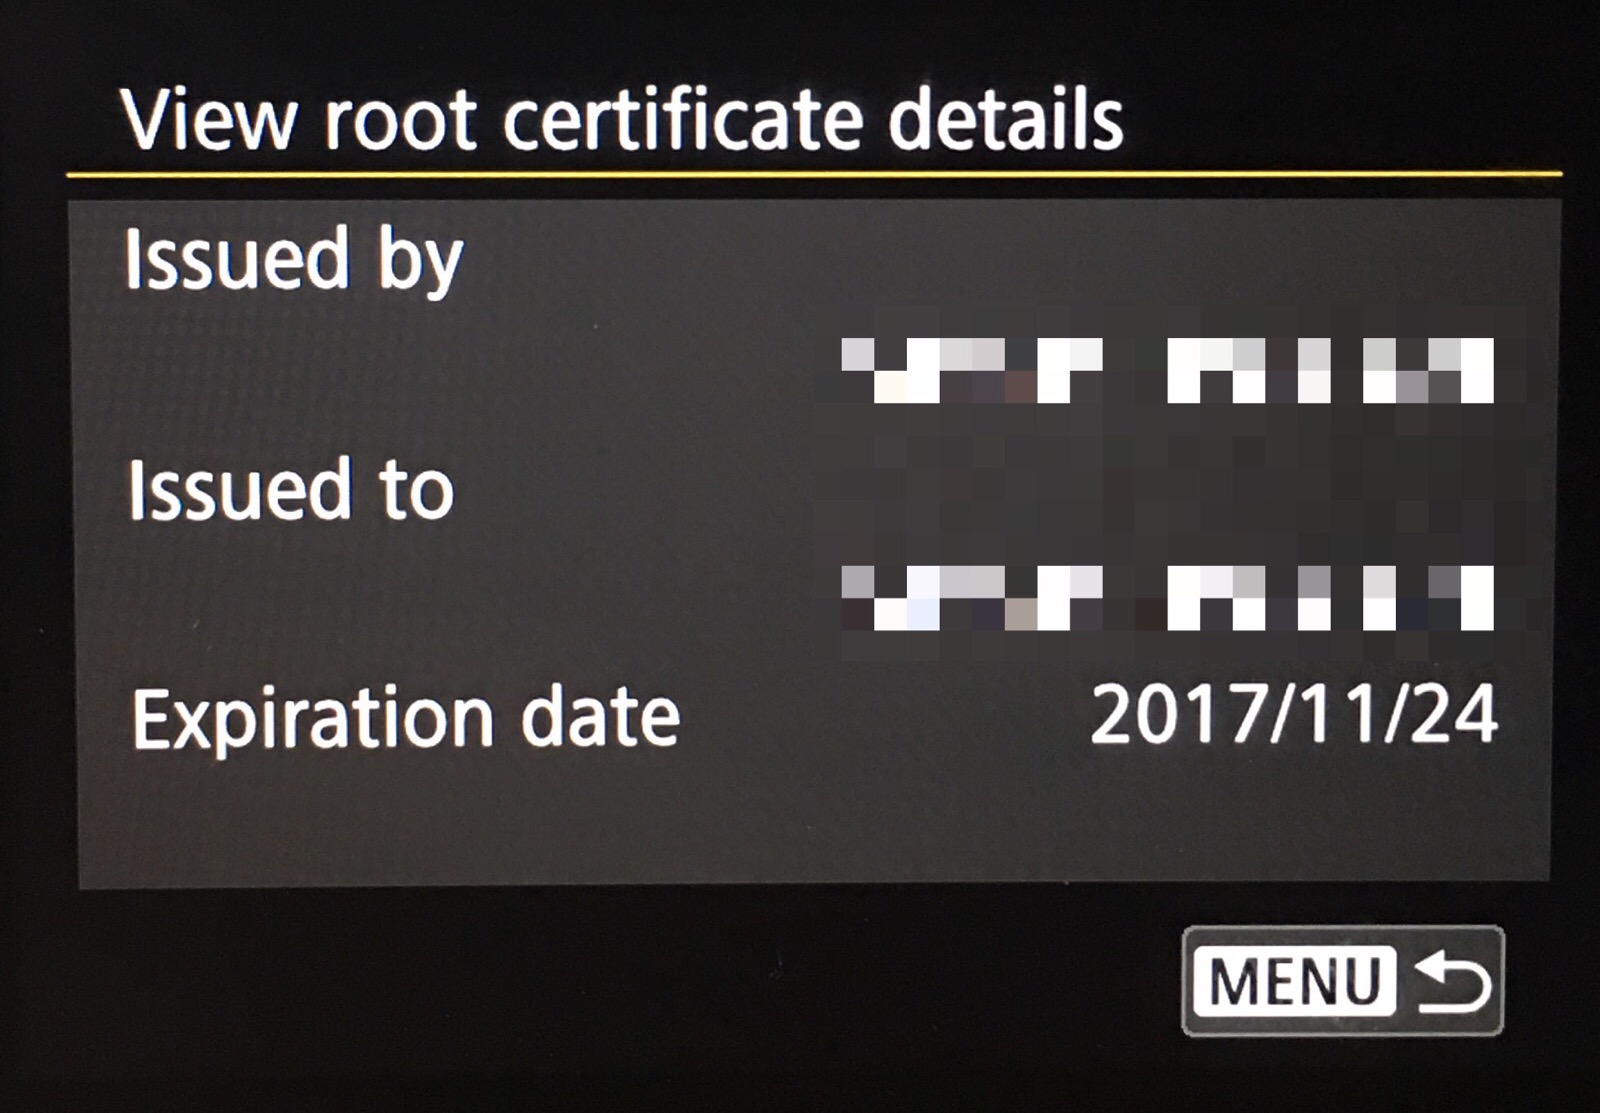
The 5D Mark IV can be configured to connect to three Wi-Fi hotspots and communicate with three FTP servers. However, the camera can only contain one FTPS server’s root certificate, so it’s really limited to just one FTPS server in this workflow. I find this to be artificially limiting on Canon’s part, since the same camera with the WFT-E7A can have up to five regular FTP connections. The 1Dx with the WFT-E8A can store up to 20 settings! Plus, WFT-connected cameras can save settings to a card. If it is at all possible, it would be nice for Canon to increase the number of servers and root certificates that can be stored on the camera in a future firmware update.
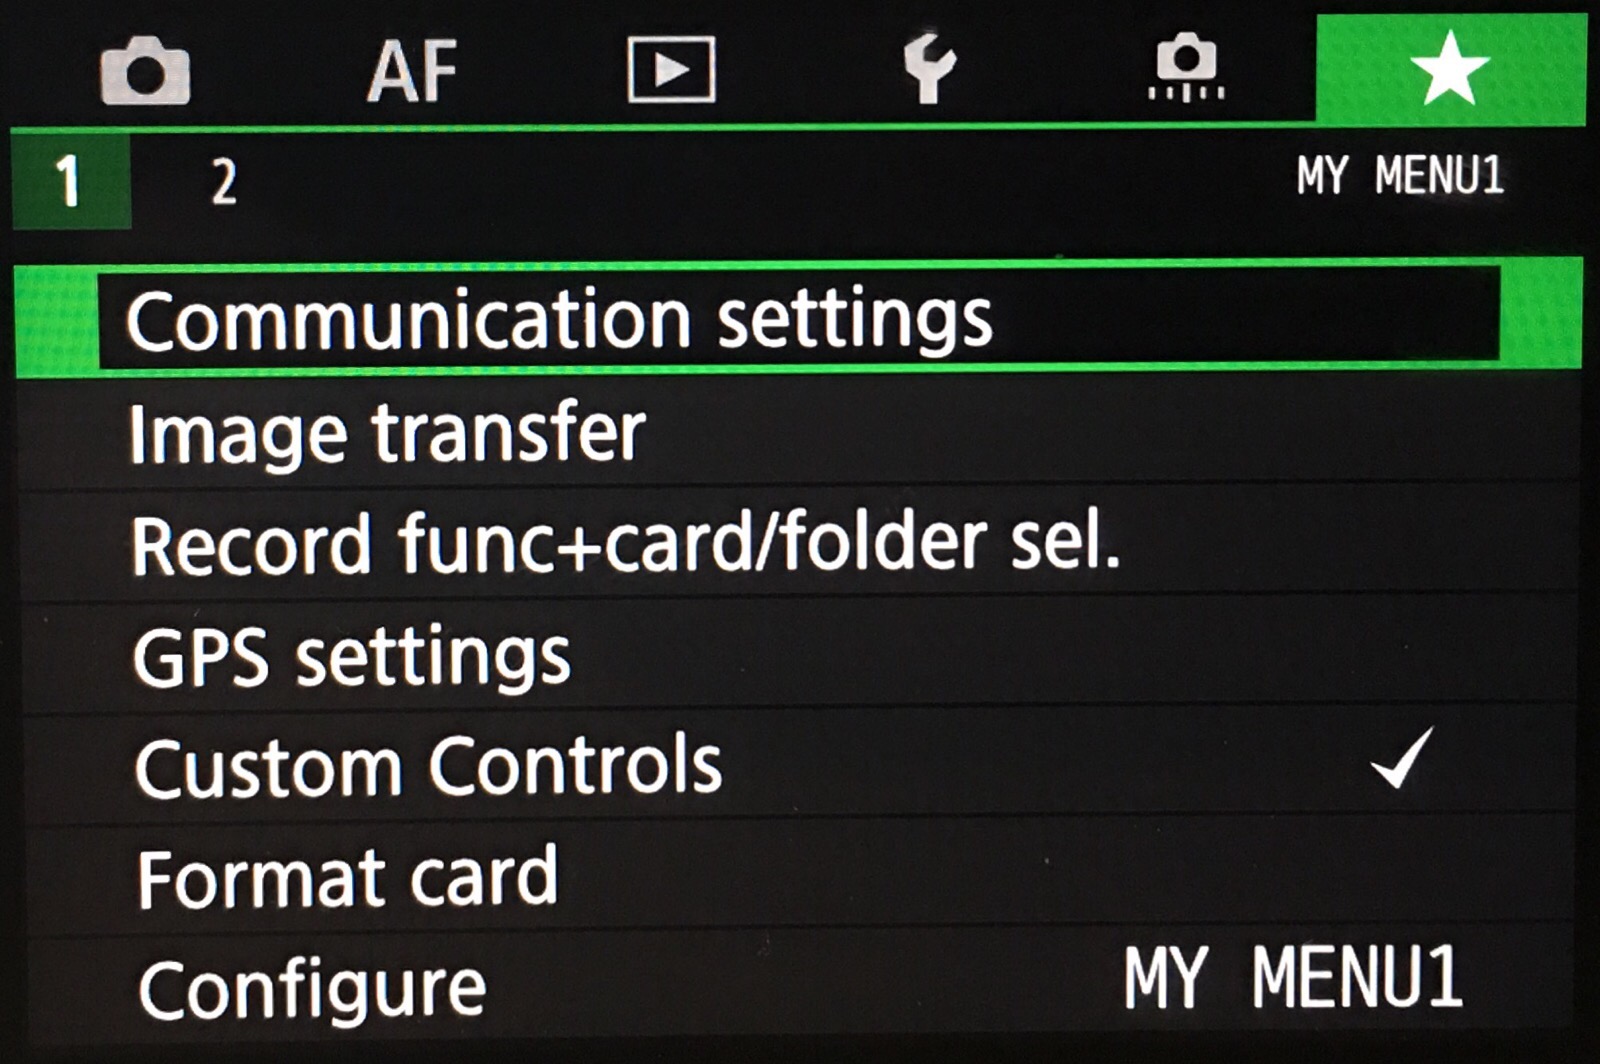
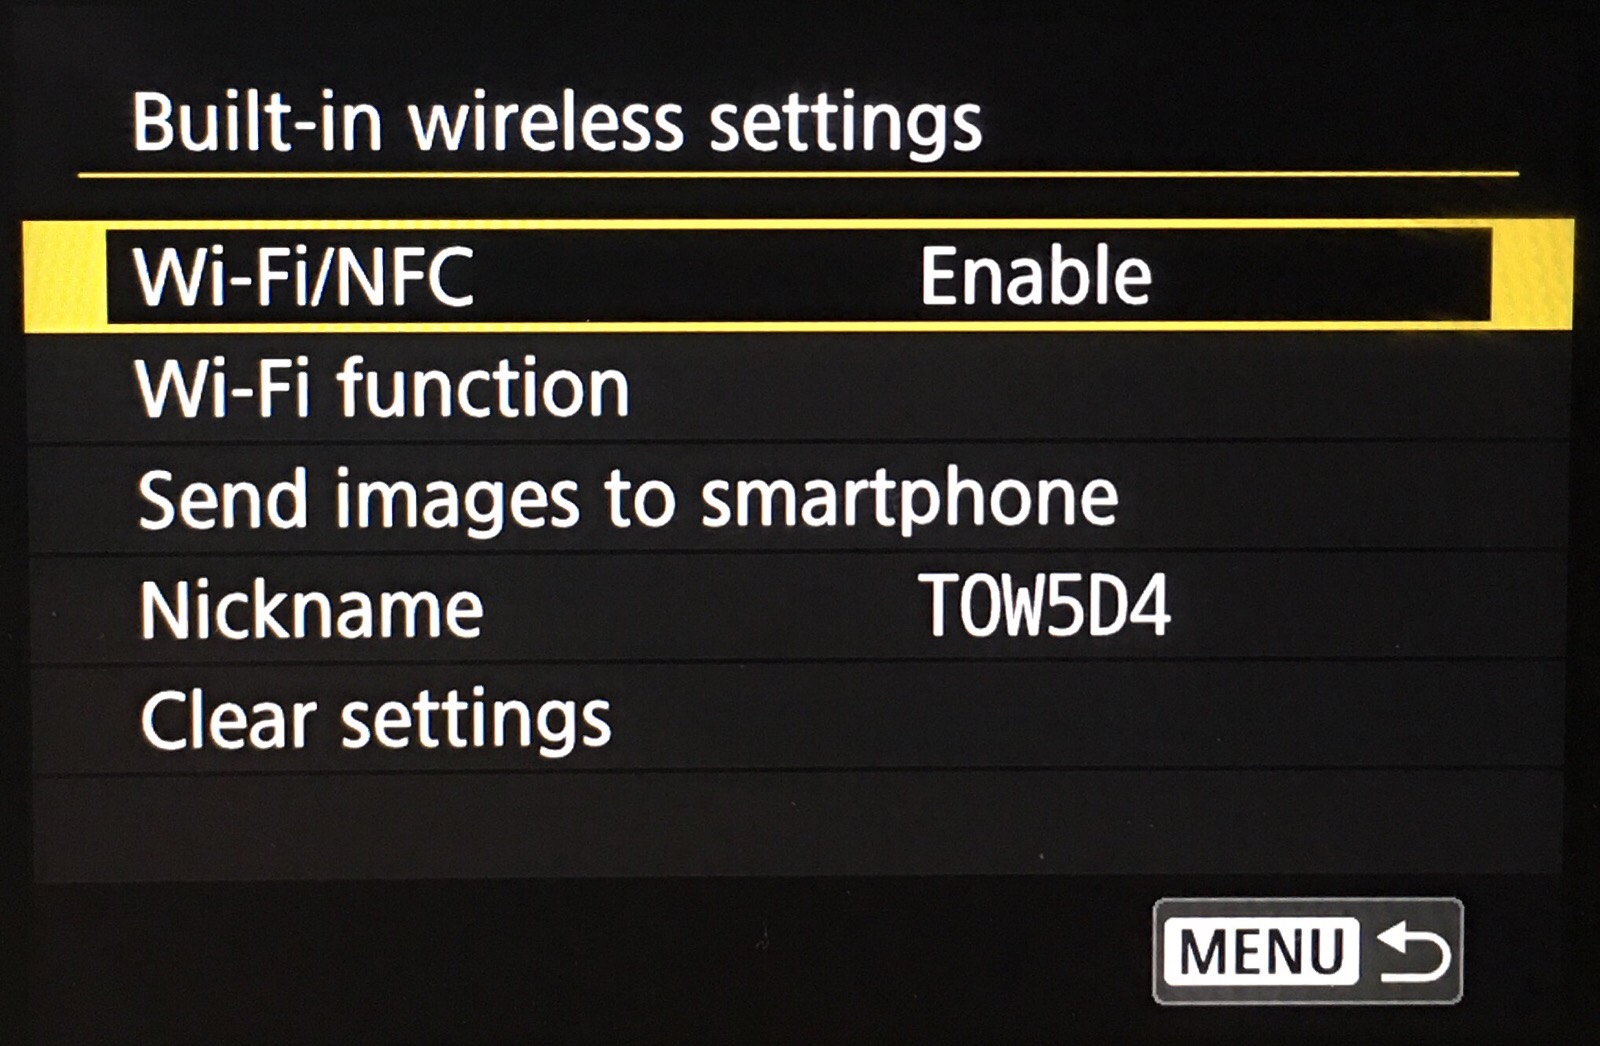
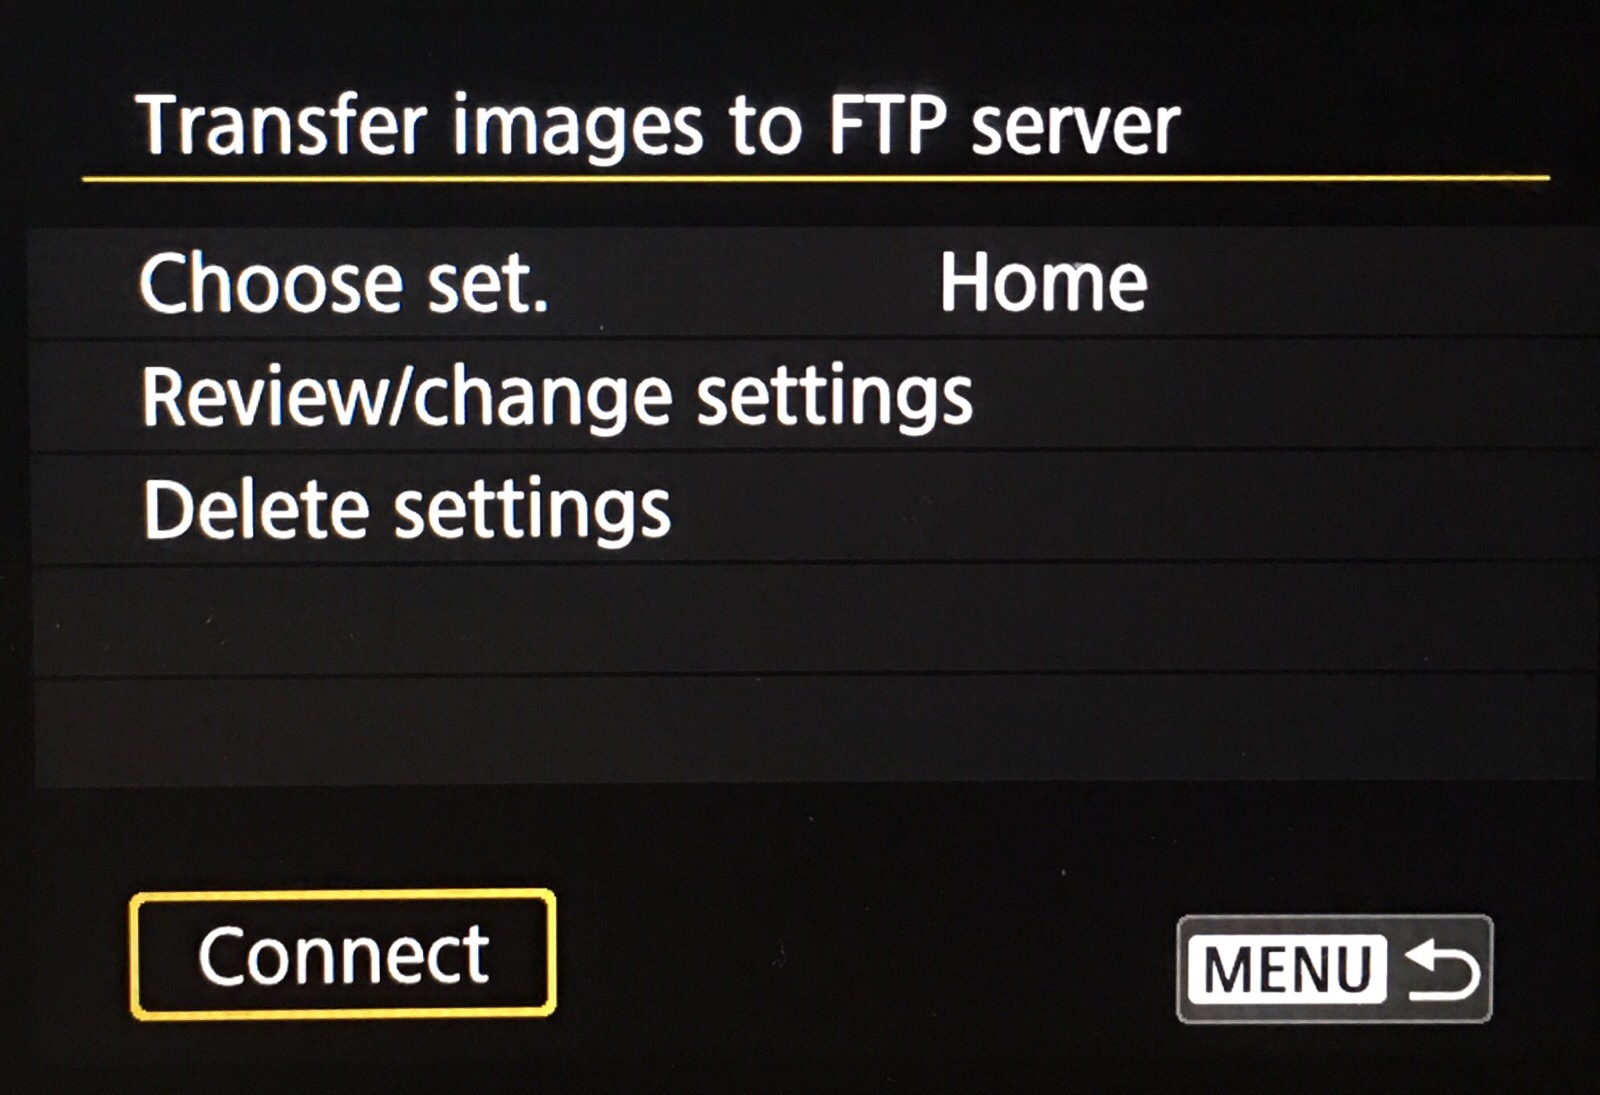
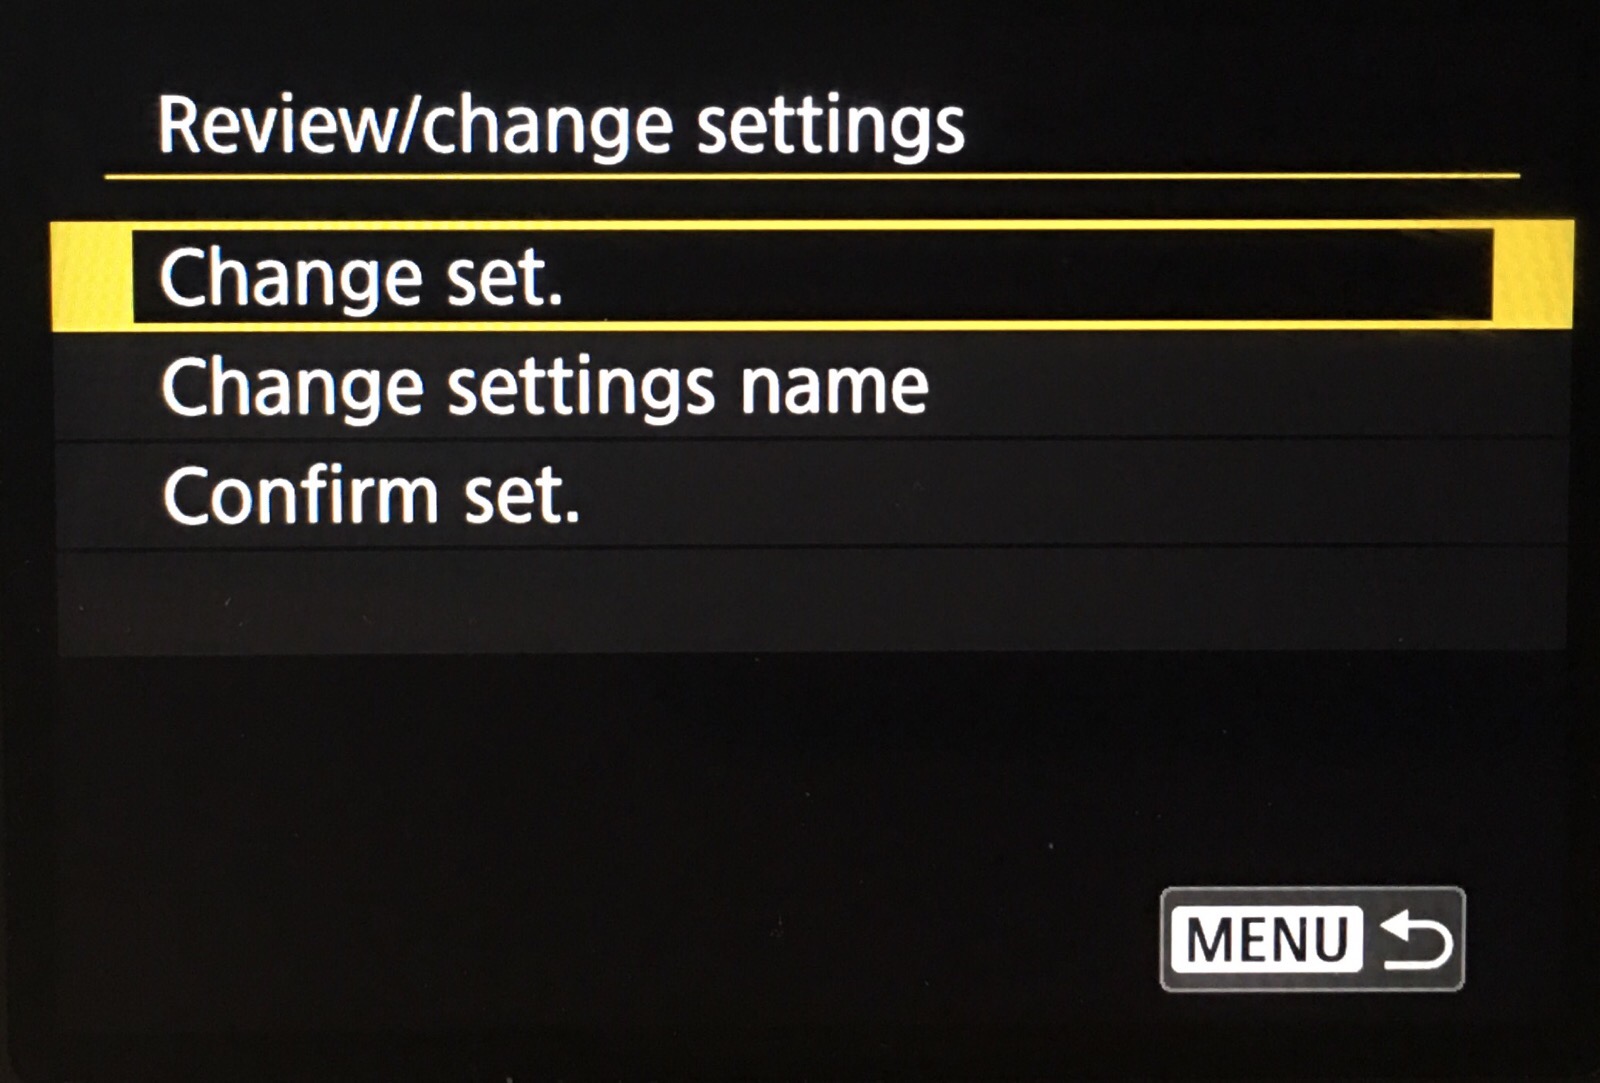
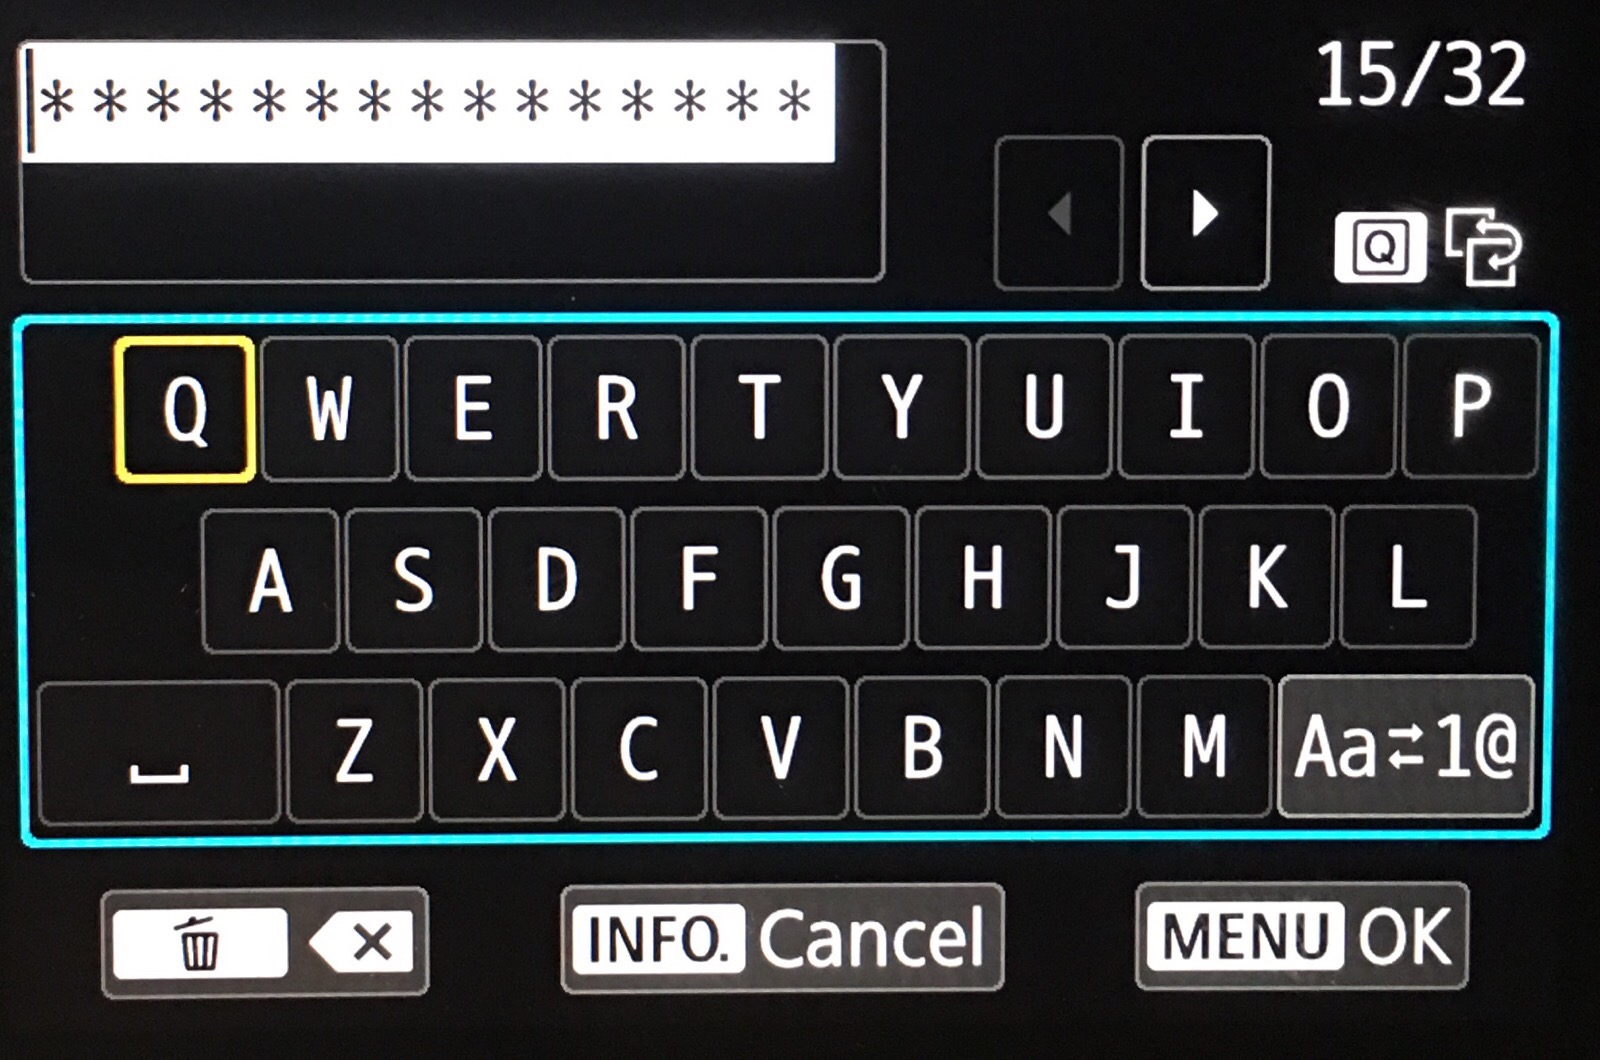
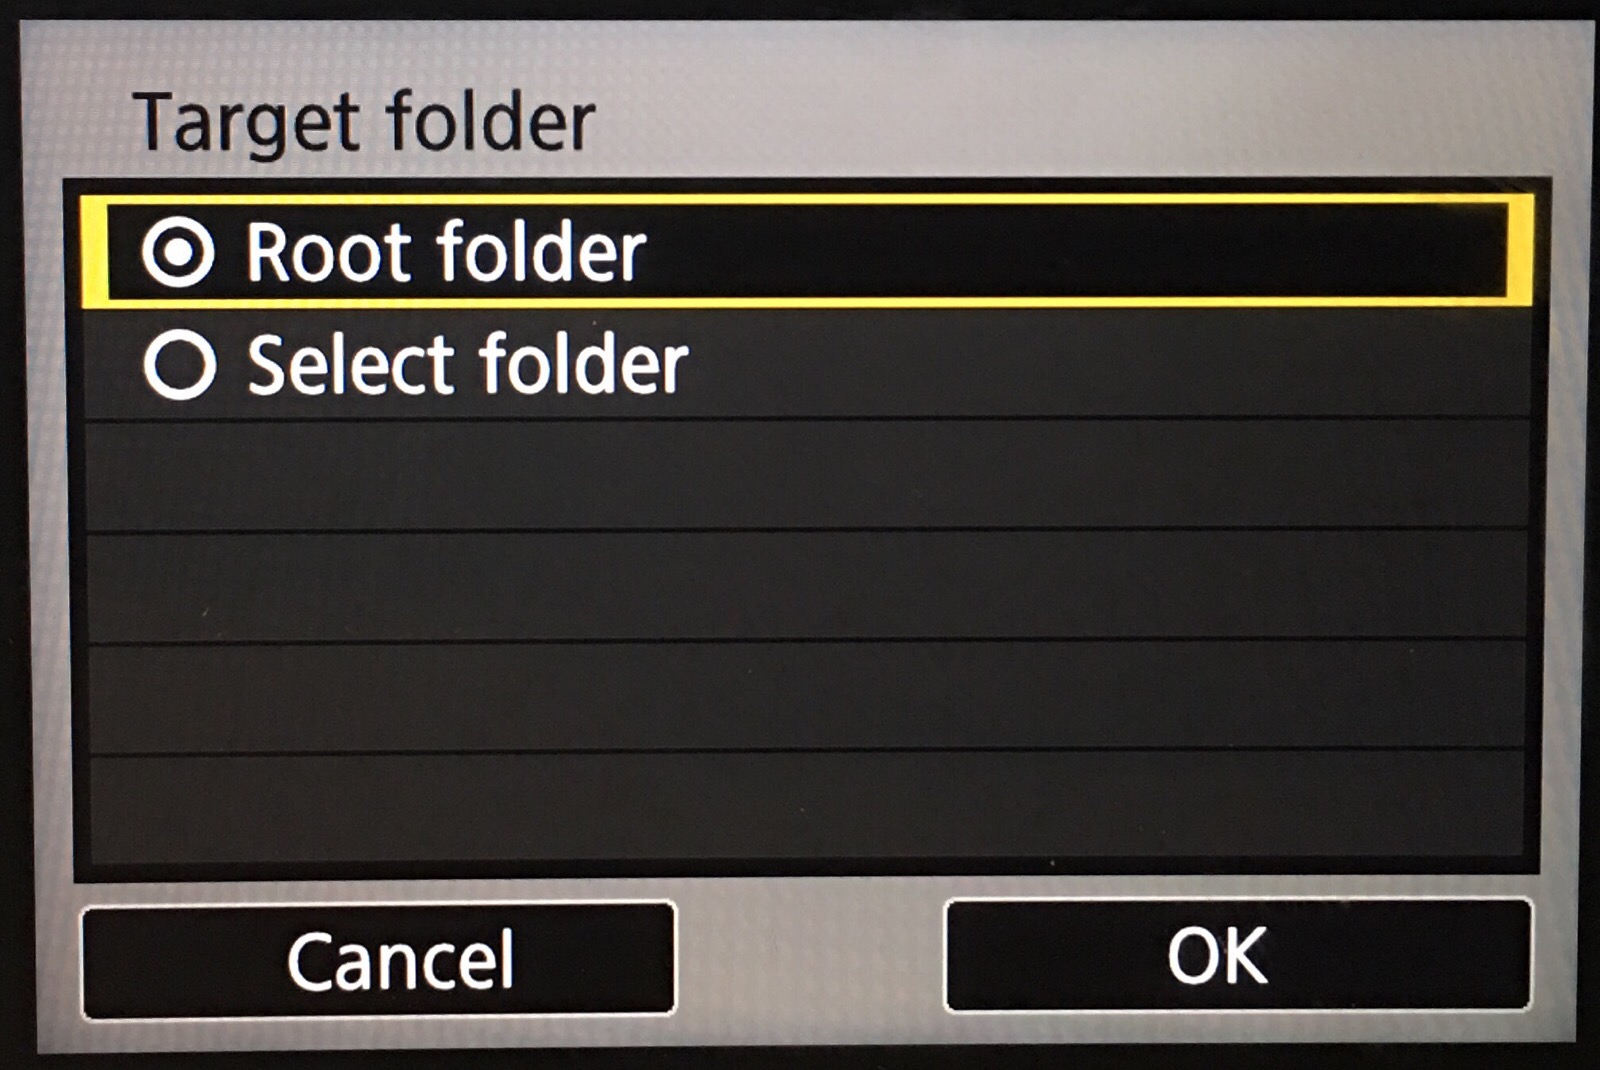
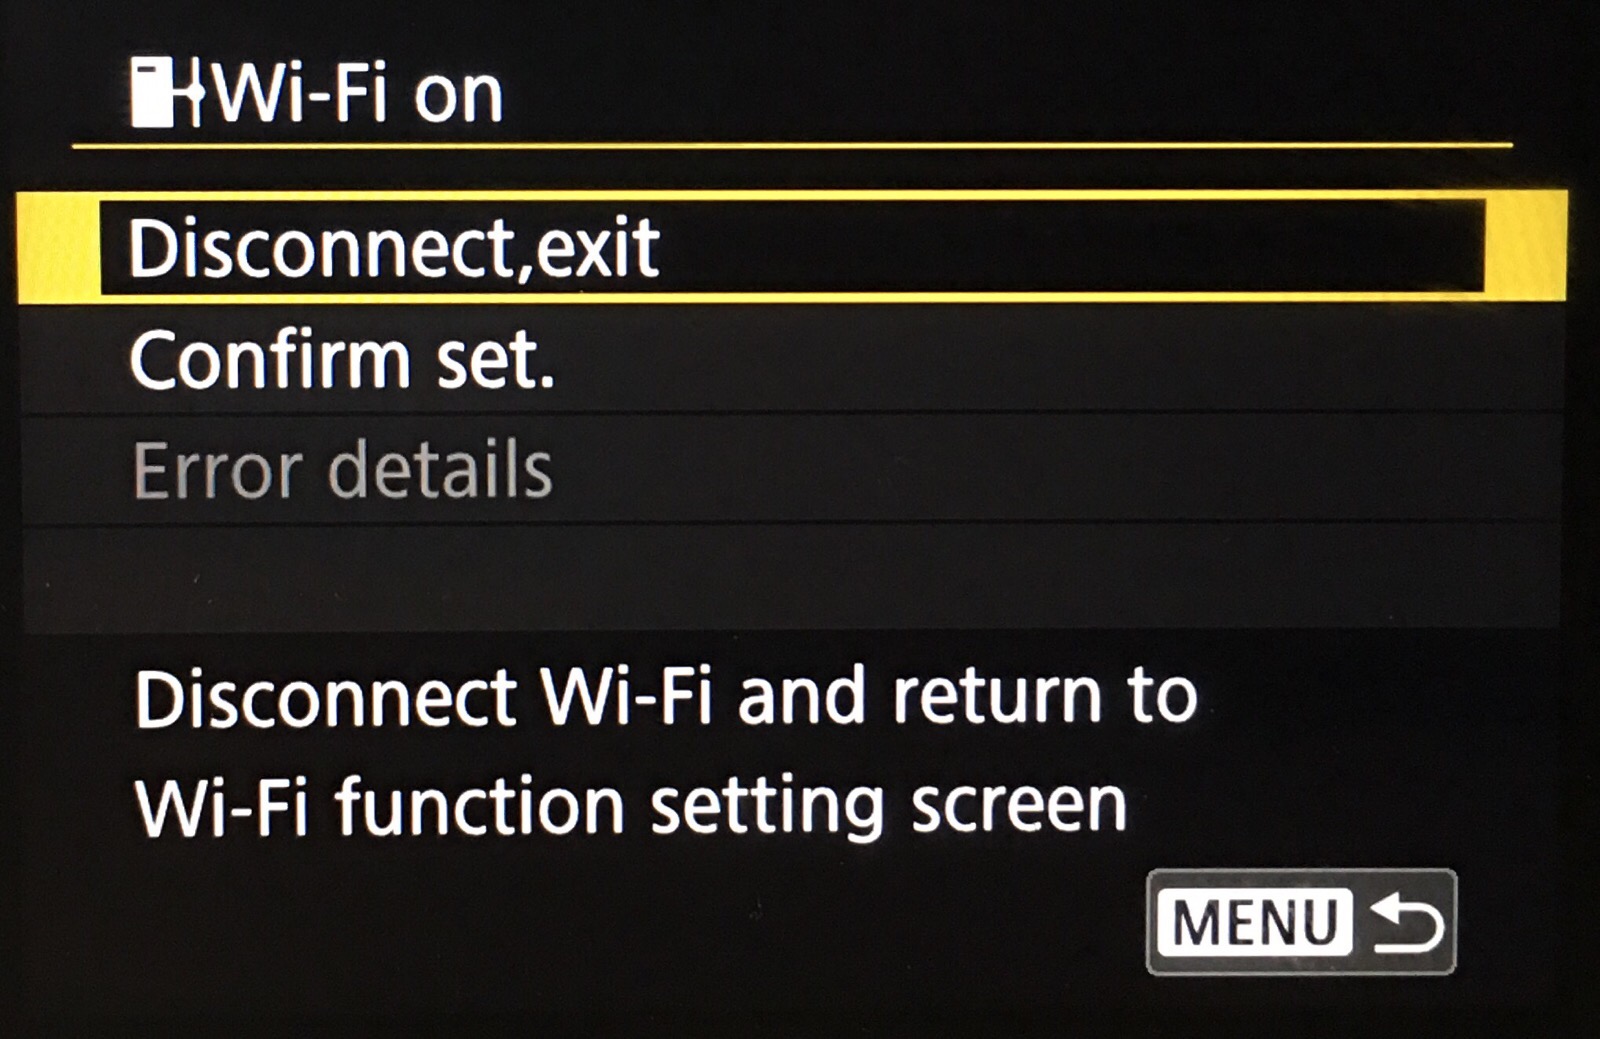
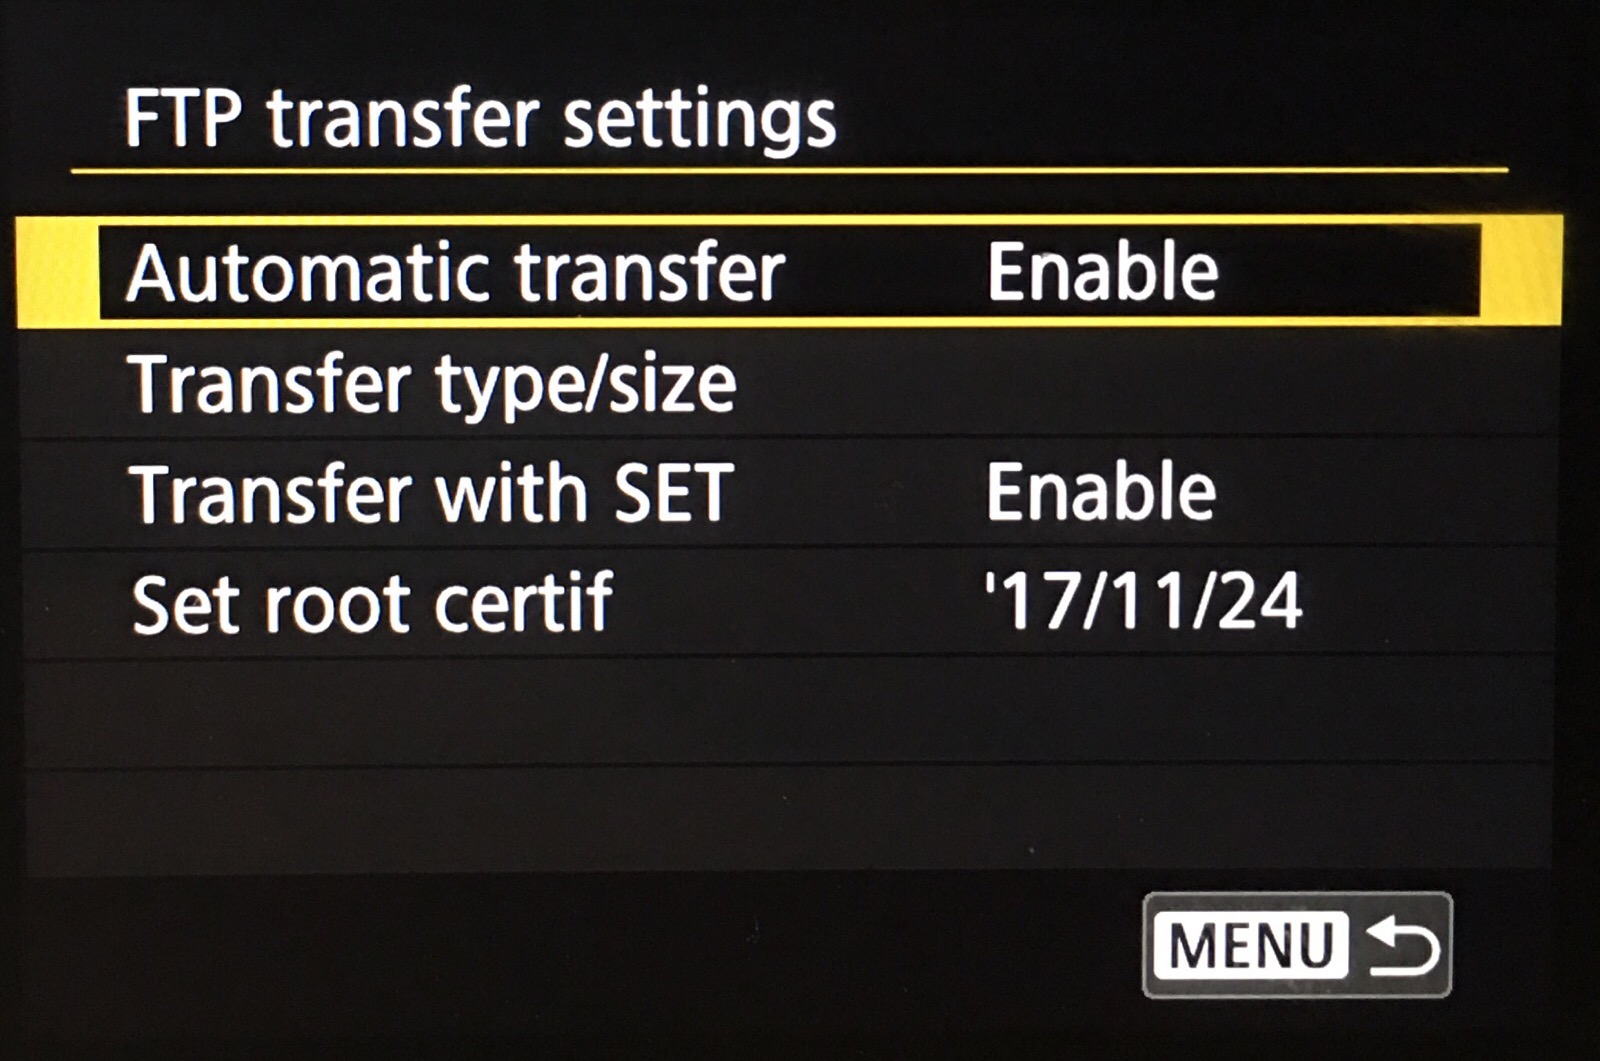
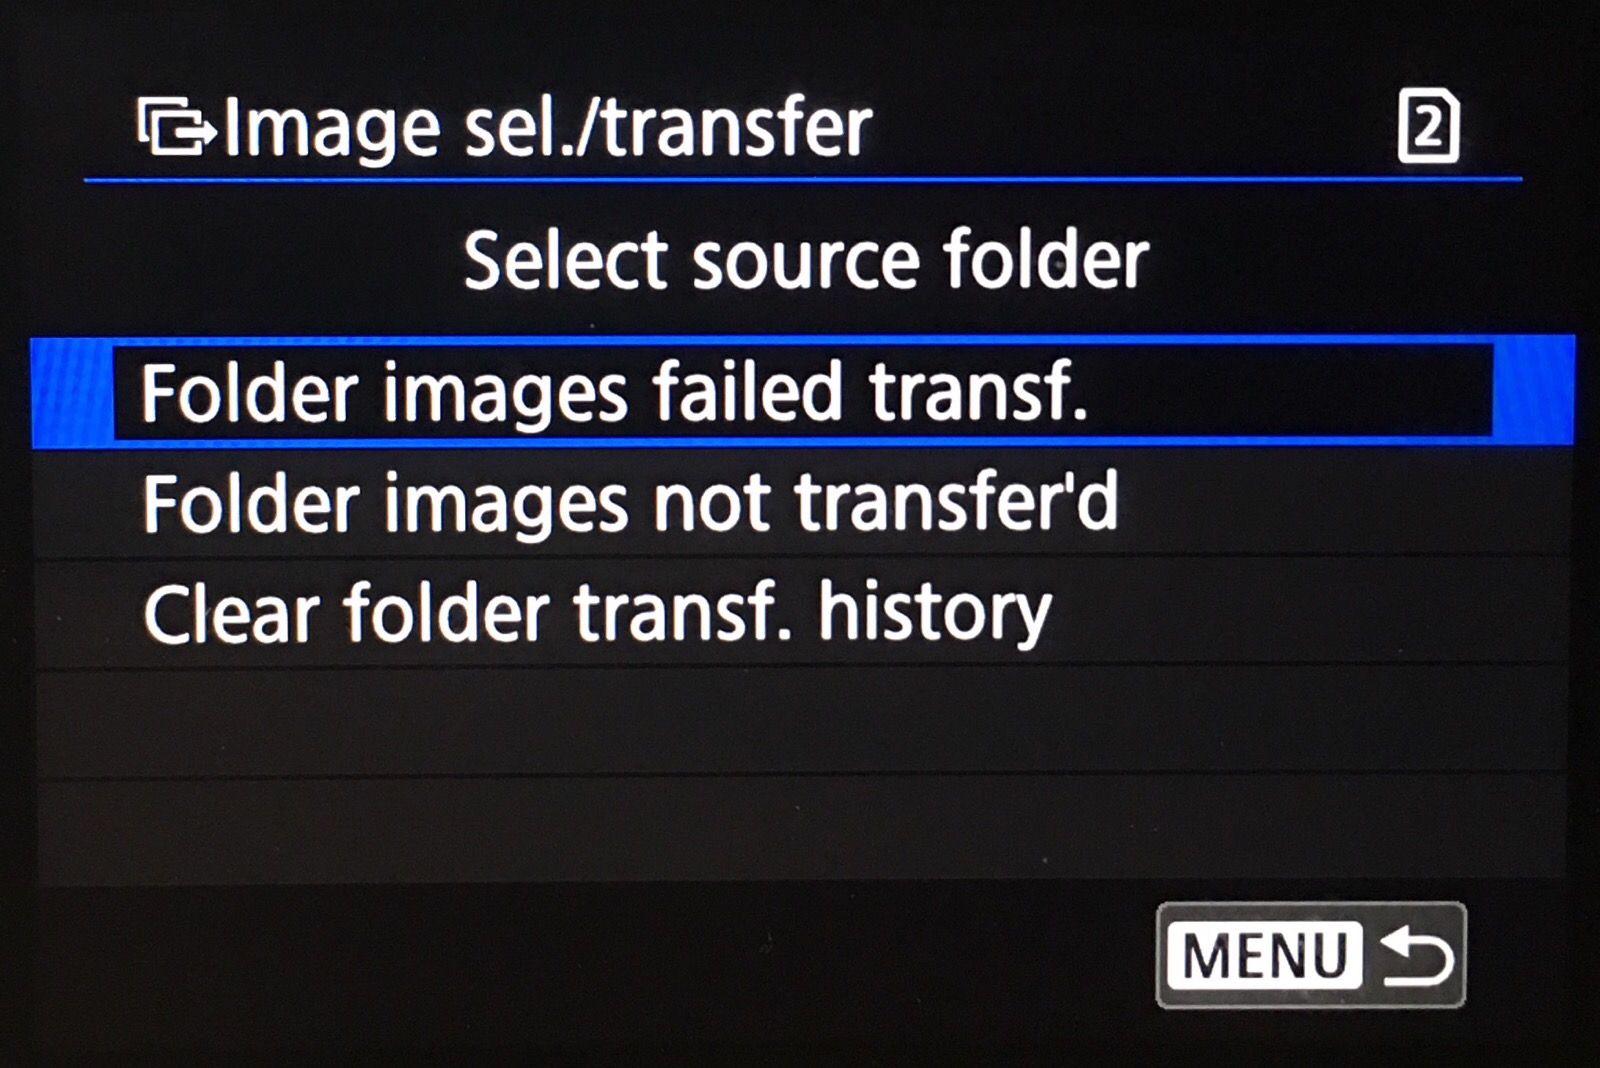
Instructions for setting up communications with FTP servers do not come in the box; users have to download the EOS 5D Mark IV (WG) Wi-Fi (Wireless Communication) Function Instruction Manual from Canon’s website. Here’s a quick gallery of thumbnails for each step in configuring the camera to communicate with an FTPS server.


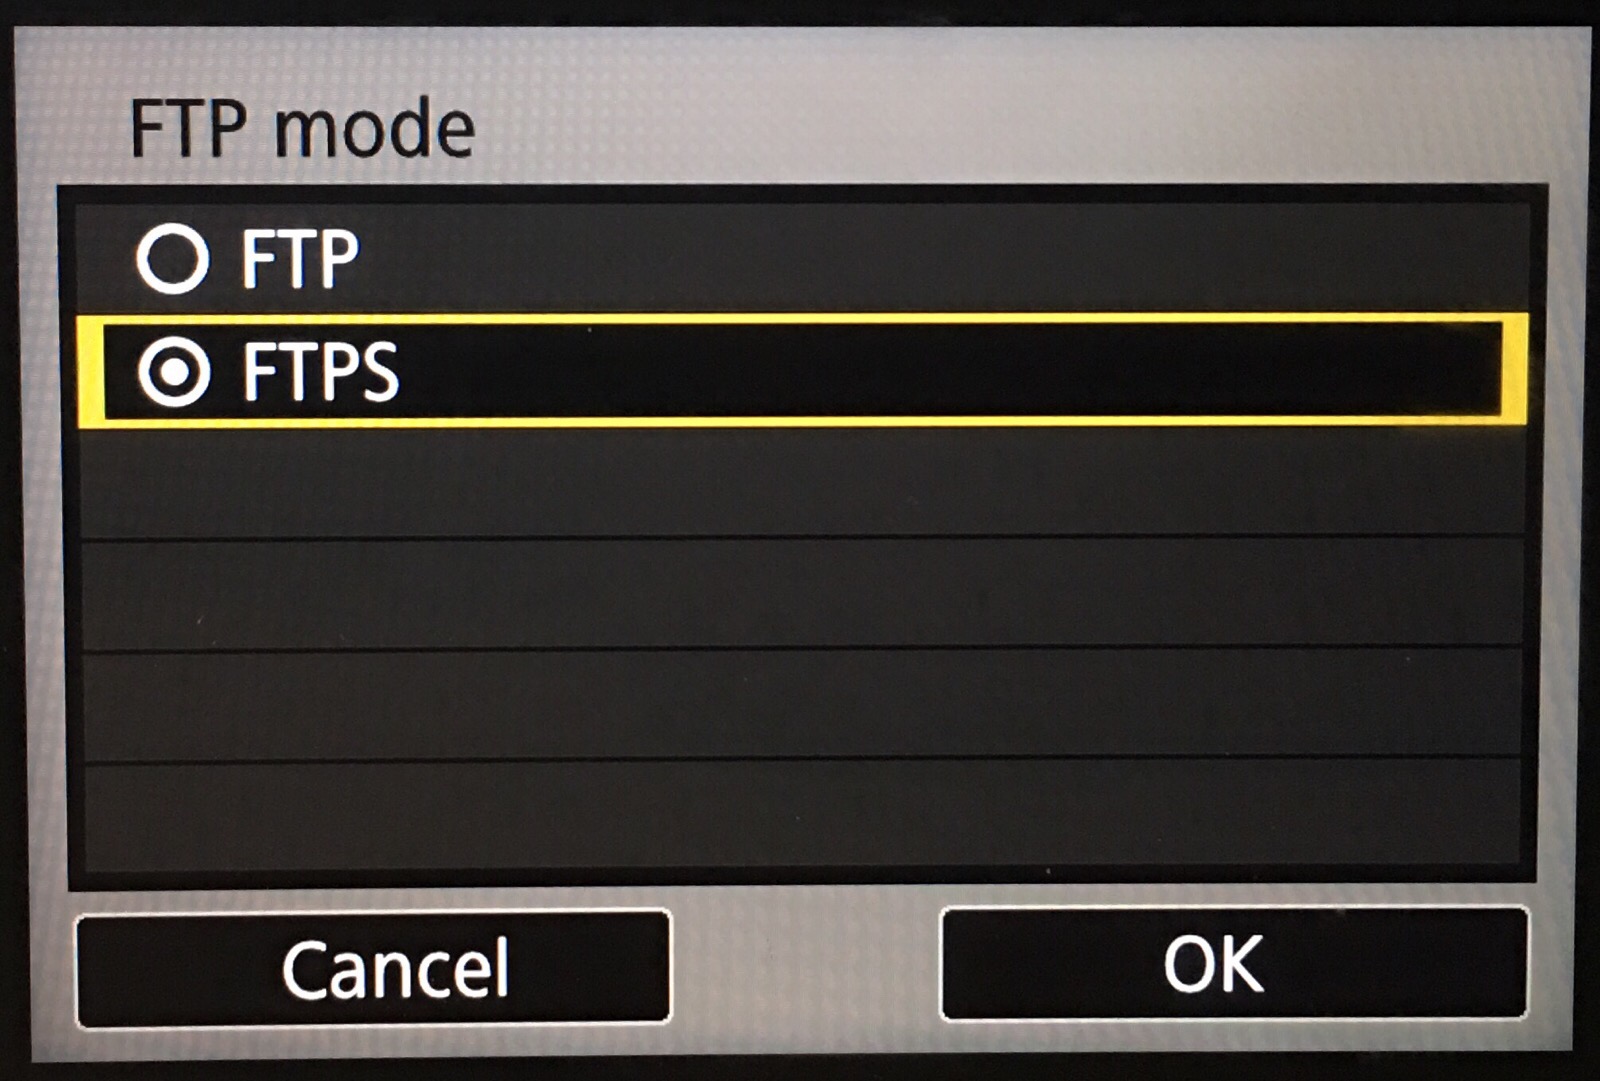
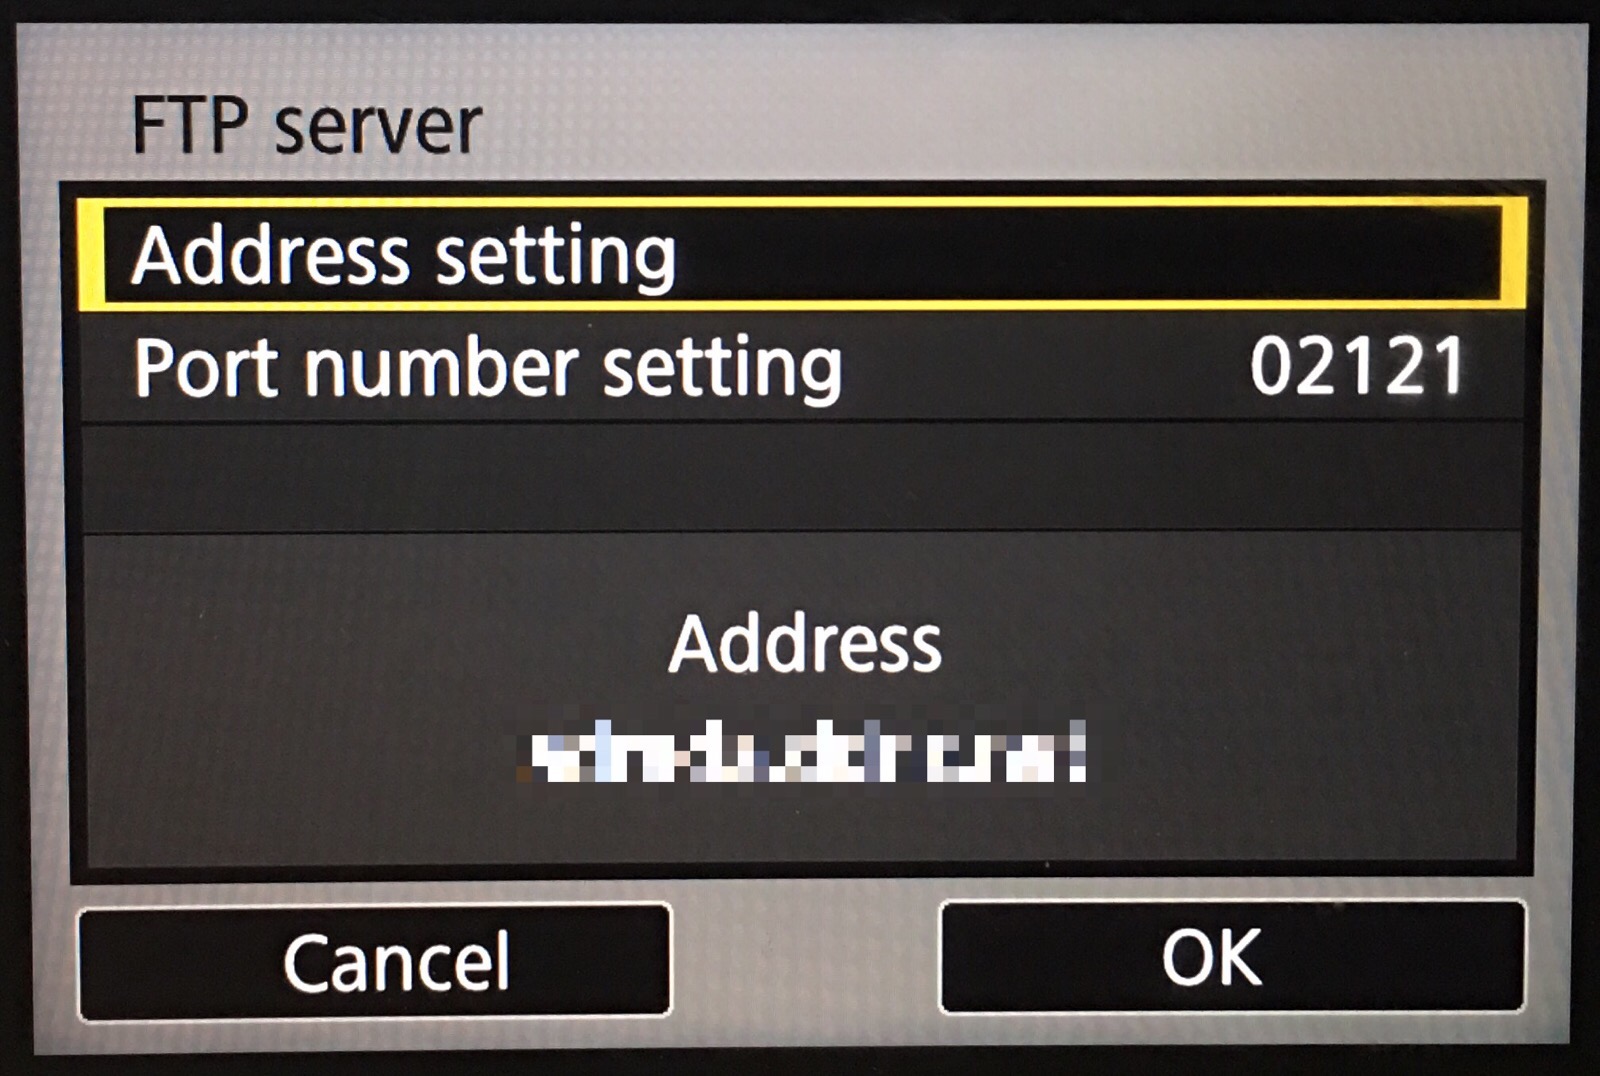
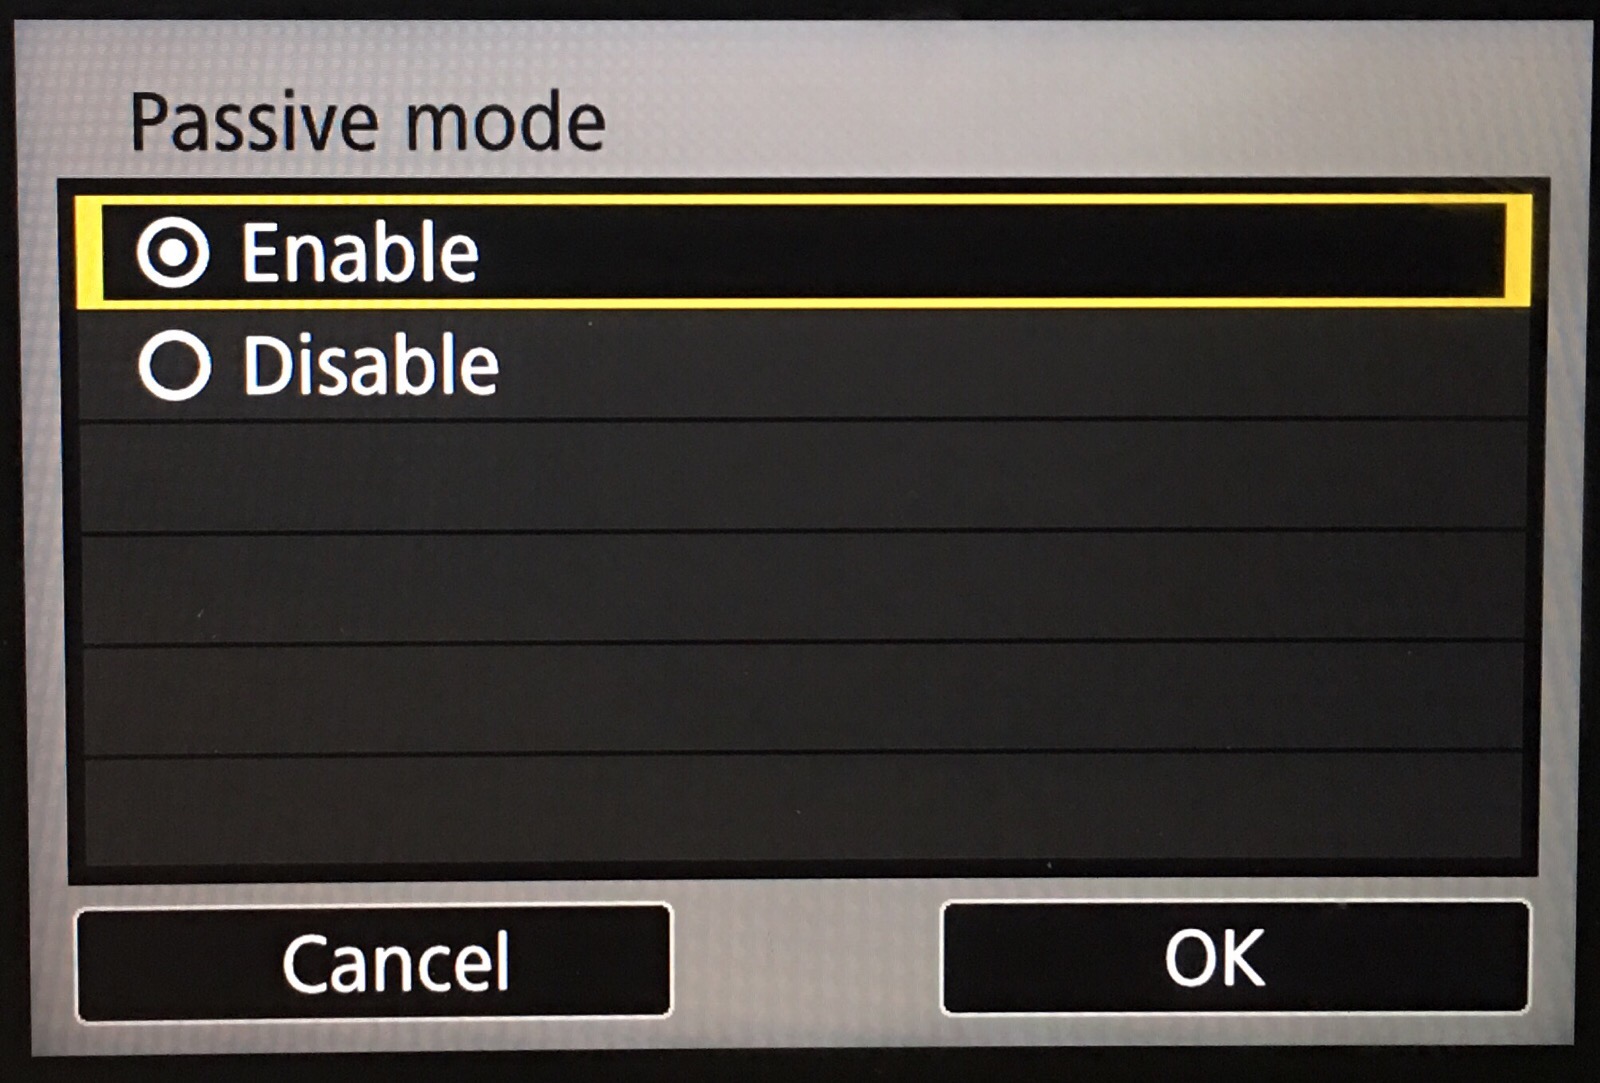
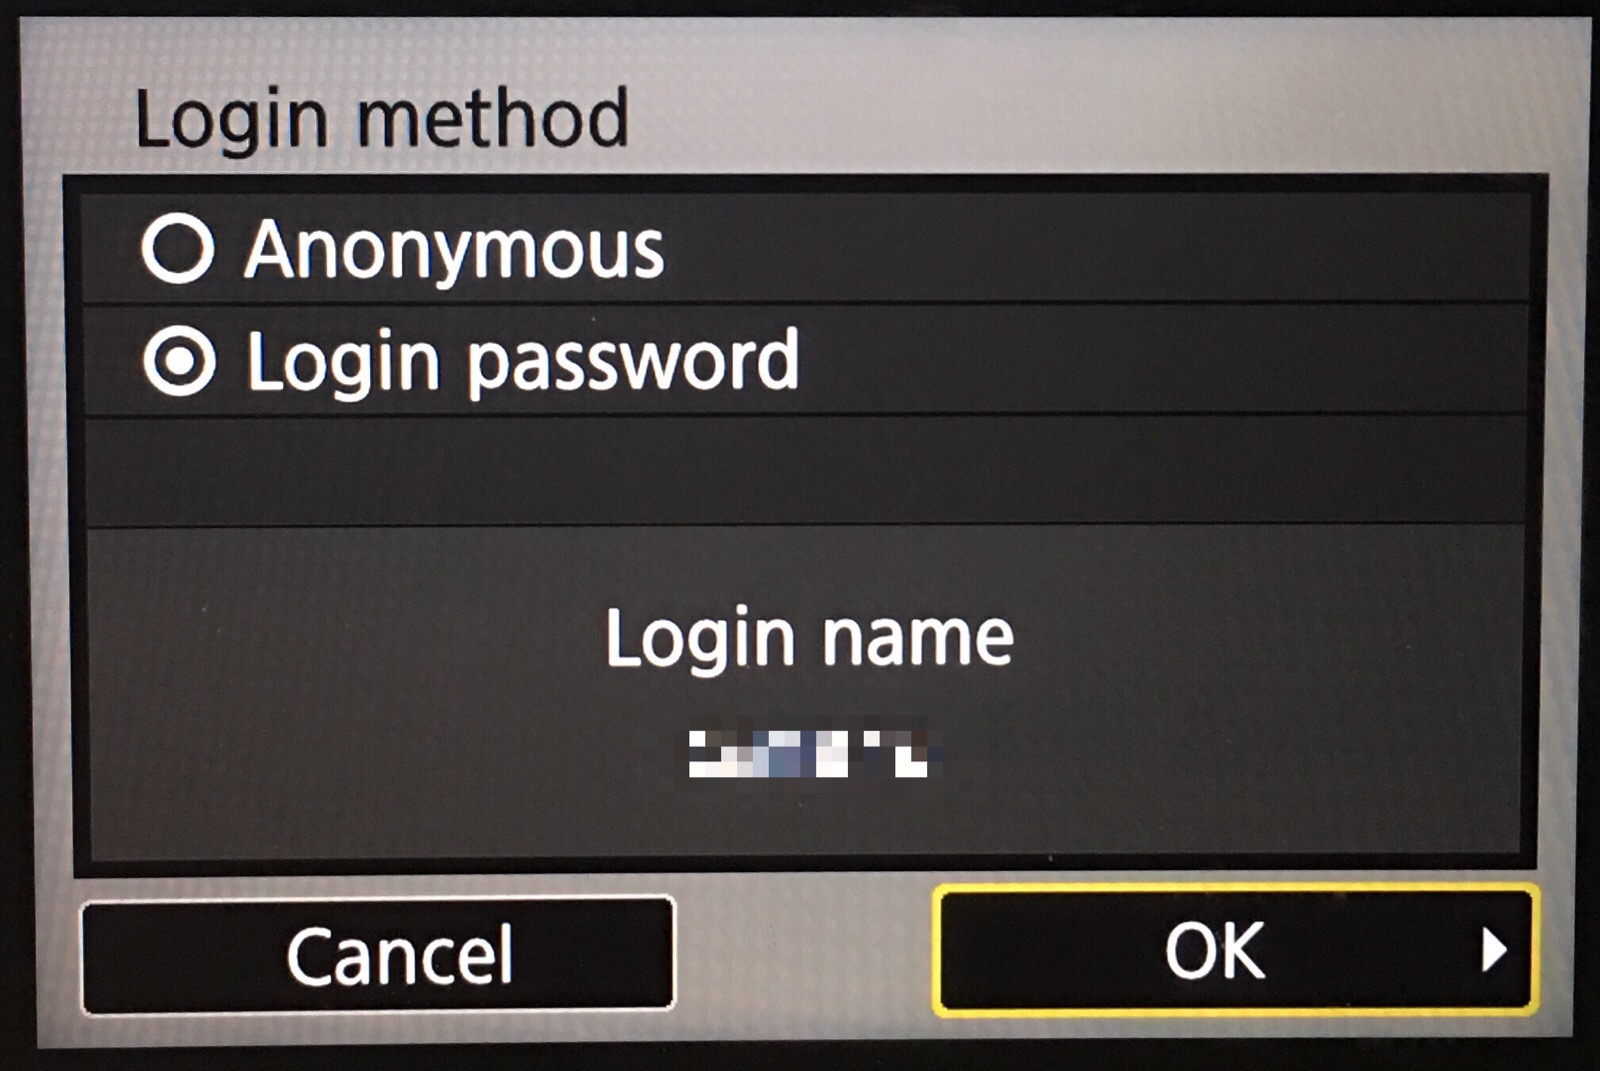


The touchscreen on the 5D Mark IV makes configuring the wireless connection easier and quicker than on the Mark III, though it still takes a few minutes the first time around. Fortunately, once you have your connections set up for home and phone, you’ve covered most of your use cases.
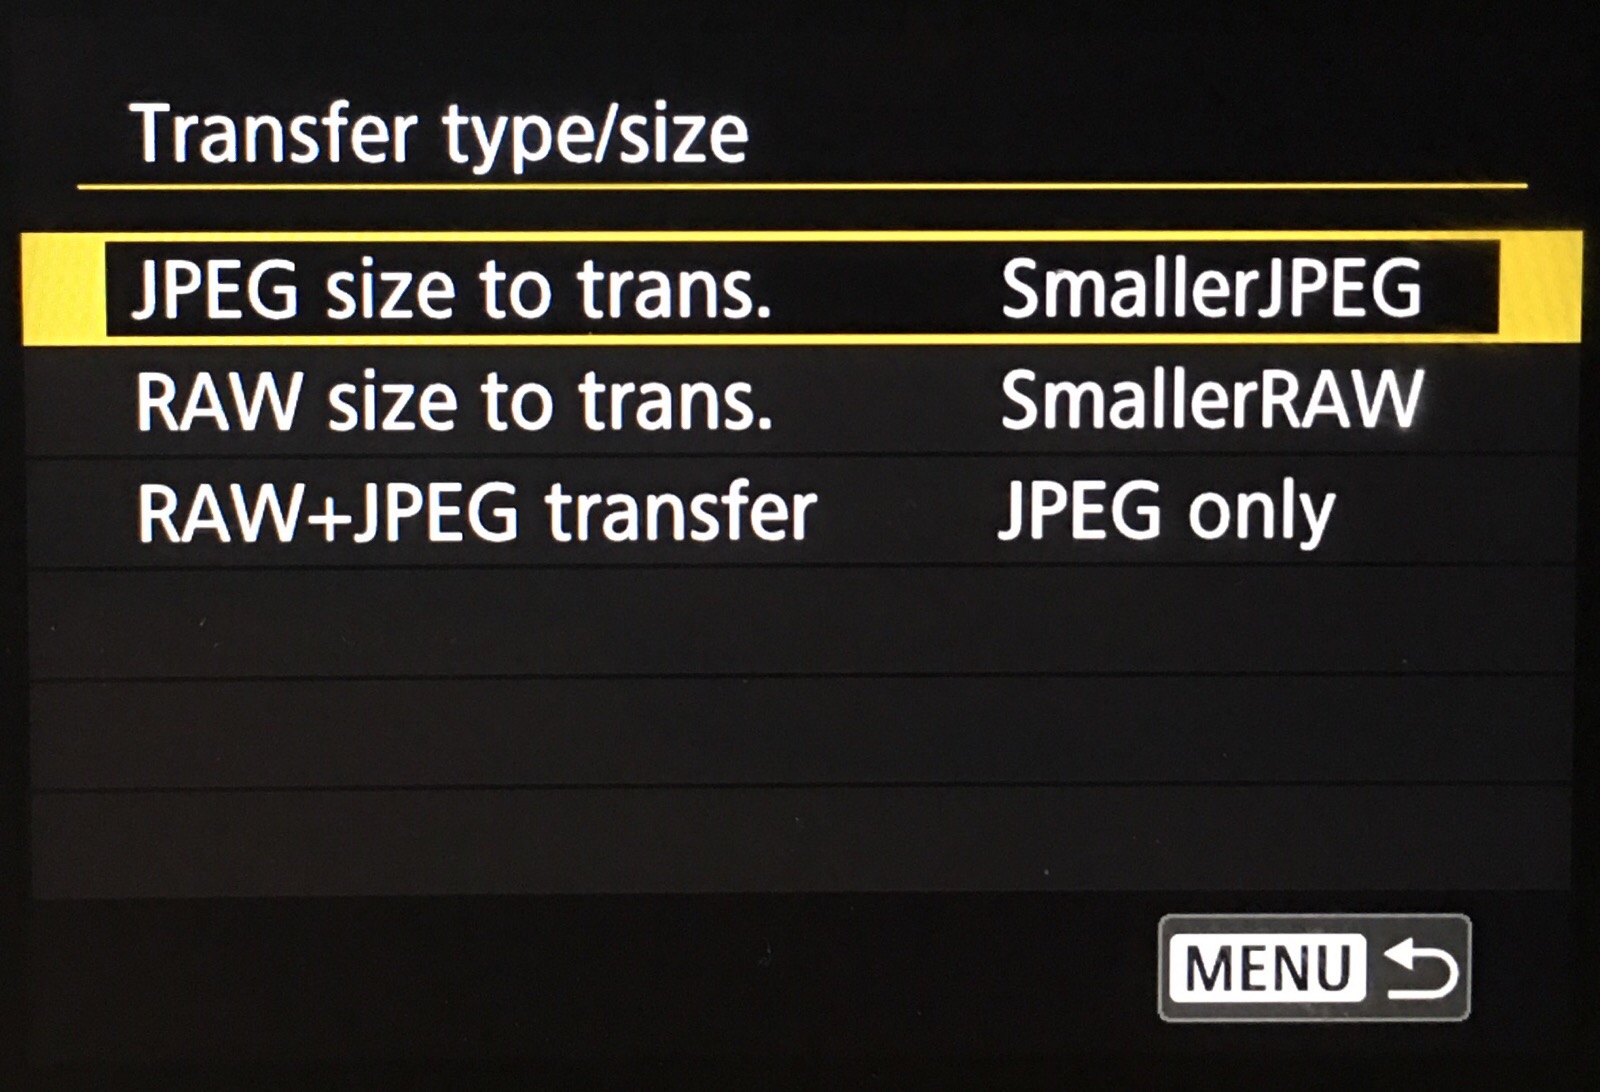
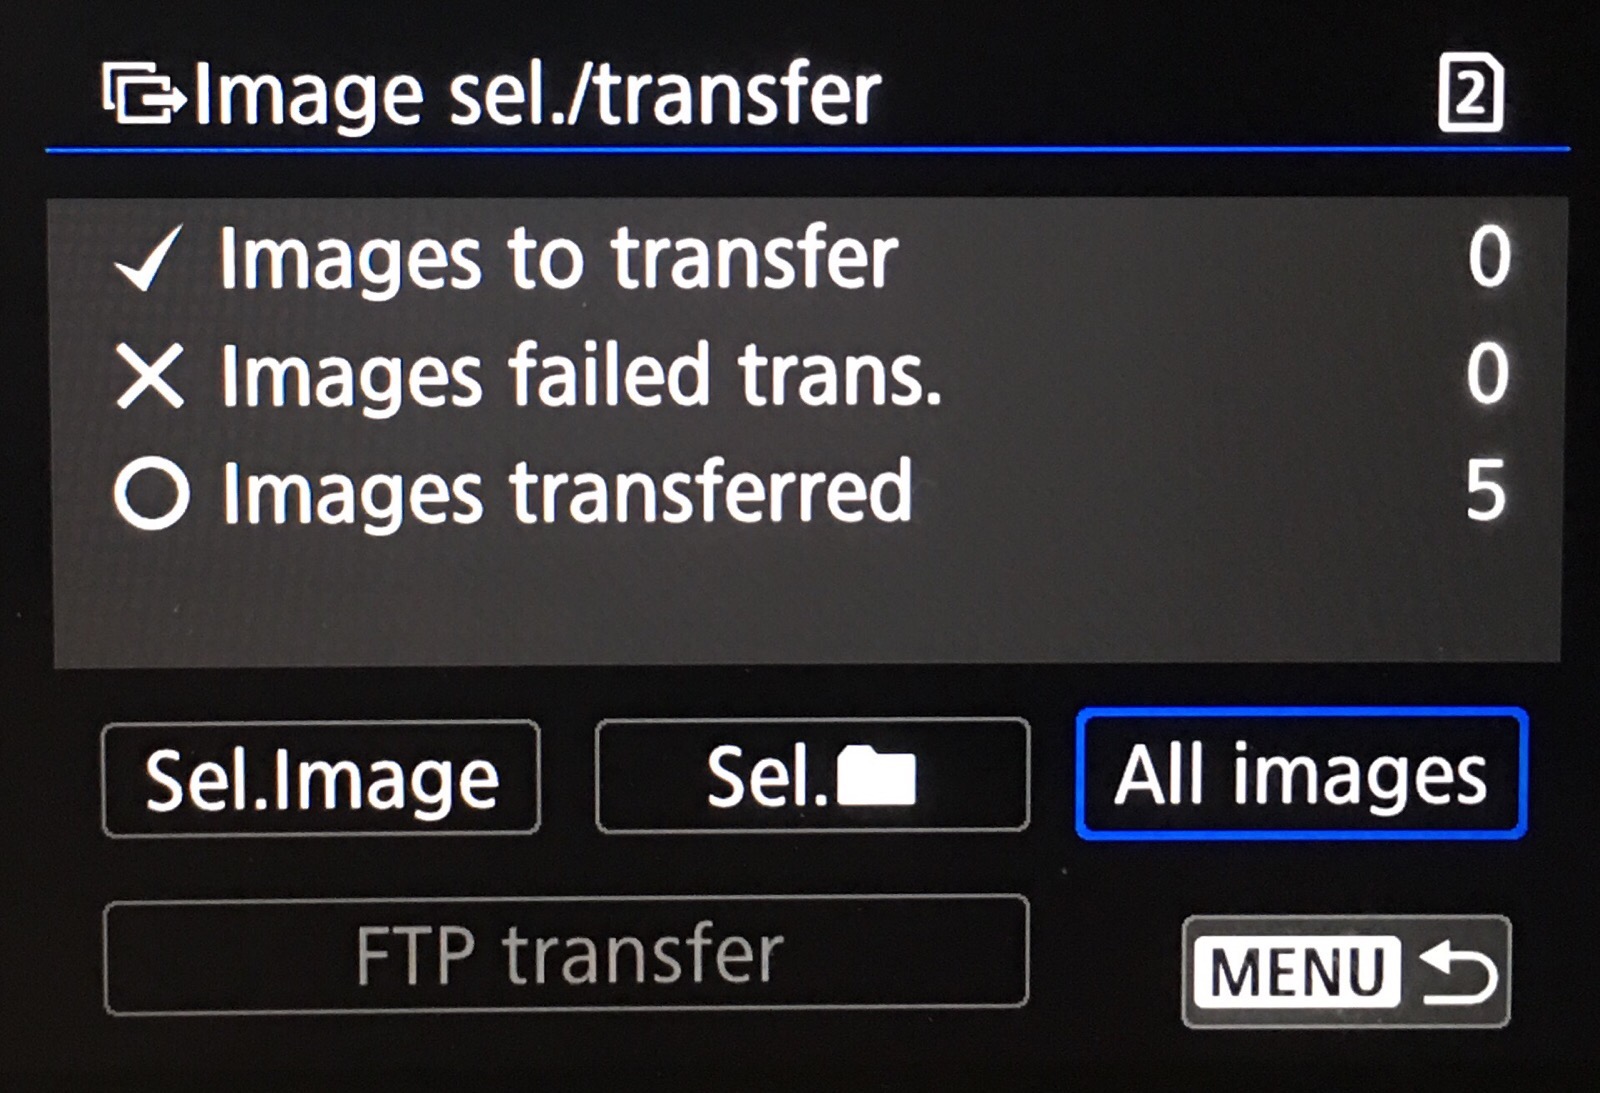
Now, when you take a photo on the 5D Mark IV, the camera will connect to the FTPS server over Wi-Fi, securely authenticate, and transfer the photos. It takes just a few seconds to transfer a JPEG file over to my Mac Mini. RAW files take substantially longer, so I have set up my camera to send the JPEGs only. I’m personally fine with this, since I see the RAW files as digital negatives that I can always go back to if I really need to seriously edit them using Photoshop or Lightroom.
Errors while connecting and areas for improvement
Initially, I experienced the hardest time getting the camera to connect to my FTPS Rumpus server. I created the certificate, loaded it up onto the camera (and server obviously), yet I continued to get errors when trying to connect securely. With an FTP client like Transmit (on both iOS and macOS), I had no problems connecting to my Rumpus FTPS server, so it was definitely something happening in the camera. Regular FTP worked just fine, but that wasn’t what I wanted. At some point, fortunately, the problem just resolved itself and has been working just fine ever since. I also tried setting up both a pureFTPd and a FileZilla server, but I received the same error that I got before with Rumpus. I suspect Canon has some bugs to iron out with its support for FTPS.
It would be even better if Canon supported the (don’t confuse it with FTPS) SFTP protocol, which is a form of file transfer of SSH. An interface would need to be created to add/remove SSH keys over time, but this could allow the camera to handle multiple servers at a time.
Furthermore, Canon should separate the pairing between a Wi-Fi access point and the FTP/FTPS server in a connection set. Right now, when you configure one of the three communication sets, you have to specify both the Wi-Fi network and the FTP server at the same time. Ideally, you should be able to store a set number of known Wi-Fi networks and a set number of FTP/FTPS servers. Then, when configuring a communication set, you would be able to switch between access points and servers, depending on the situation. Wishful thinking, I know!
Using Hazel and Exiftool to process, rename, and organize photos
Alright, now files are being transferred from the camera to my FTPS server, what’s next?

On the Mac, there’s a couple of options. First is to use Hazel, an excellent file and folder management tool for macOS. I have a rule configured in Hazel to detect when files appear in the FTP directory on my computer. Several actions are then dispatched:
- Images are renamed according to my preferred image naming structure (YYYYMMDD-hhmmss-FRM4). This is key, since I’m using the same naming structure for my RAW files (I shoot RAW+JPEG on the 5D Mark IV).
- Images are moved to a second directory where they are imported in batches to Apple Photos. Since I am using iCloud Photo Library, these images soon become available on my iPhone, tablet, iCloud Photos on the web, and my other Mac computers.
- Images are added to Google Photos using the Google Photos Backup app whenever new images are added to Apple Photos.
- Images are also copied to Dropbox. I use this in a number of my workflows to get around the fact that iCloud Photo Library does not sync over cellular data connections, only Wi-Fi.
- Images are sent to me via Messages.
- Images are finally moved to an Imported directory on my computer. I can safely delete them at my leisure, knowing that I have all of these images in multiple locations.
Note that when renaming images, Hazel can’t natively extract the shooting date and time from the images, so I have to use Phil Harvey’s Exiftool to pass this information back to Hazel (via a JavaScript action). The second option would be to use Photo Mechanic, an app written for working photographers that’s the absolute best for importing and culling images. Photo Mechanic has powerful renaming capabilities and can add additional metadata (i.e. titles, descriptions, keywords, etc.) immediately to images on import.
Adding to Photos
Next, I have a cron job running on the Mac Mini that executes an AppleScript that imports the images into Apple Photos. Because I’ve enabled iCloud Photo Library on the computer, any image that I take on my 5D Mark IV will become available to other iCloud Photo Library clients — like my iPhone and iPad — provided they are connected to Wi-Fi. The time it takes for photos to appear once they’ve been imported into Photos is about a minute.

One minute might seem like a long time, considering it would take a shorter amount of time to plug in a cable between the camera and the phone or use a dongle with the memory card, or use the Camera Connect app (via Wi-Fi or NFC), but keep in mind that all this happens automatically and completely hands-free. I take a photo, do something else, and when I’m ready to share, the photos are right there on my phone.
Copying to Google Photos
Furthermore, Google Photos Backup is running on the Mac Mini. When photos have been added to Apple Photos, they are automatically added to Google Photos in the cloud. I think the automated actions (such as making movies, animated GIFs, and face recognition) conducted by Google Photos are, at the moment, better than what Apple is doing in Photos. Google Photos also holds my main archive of images dating back to 1998. Before this workflow, I only had a smattering of DSLR images in my Photos library; the majority of images were taken with the iPhone. I’m currently on the 200GB iCloud storage plan and am crossing my fingers that Apple will one day make photo and video storage free like it is with Amazon Prime Photos (with a Prime membership) or Google Photos.

Copying to Dropbox
My Hazel script copies images to a special Dropbox folder. I also have Dropbox syncing photos to the Camera Uploads directory, but there’s a reason why I’m also copying images to a dedicated Dropbox folder called 5D4 Photos (to be explained in a future article).
Ultimately, this approach has my photos in three locations, iCloud Photo Library, Google Photos and Dropbox.
Notify me via Messages
Finally, once the images have arrived via FTPS, the Mac sends me an iMessage for each photo. For reasons that I’ll explain in the next section, this is critical if I’m on a cellular connection. I can turn this notification feature on or off from my phone.

On-the-go mobile workflow
When Wi-Fi is available, this workflow works exceedingly well. You choose the correct connection set on the 5D Mark IV and you’re off to the photographic races. When you’re mobile, however, and Wi-Fi isn’t around, you have to do one of three things to get your photos onto the server:
- MiFi
- Personal Hotspot on iOS or Mobile Hotspot on Android
- Tethering to a Wi-Fi travel router
MiFi
With more cellphone plans offering tethering capabilities for free today, I’m not seeing as many MiFi devices out in the wild. Years ago when I had one, speeds were only 3G, and the battery life was not that good, something on the order of 3-5 hours. Today, the best in breed can get almost 20 hours of continuous LTE usage with its internal battery. I hope you have an unlimited data plan if you’re using your MiFI that much! Basically, the workflow is turn on the MiFi, connect to it from the phone and camera, and you’re done. We used one when traveling internationally in Korea two years ago, and it was very handy to connect all of our devices. Had the 5D Mark IV existed back then, I would have definitely used this method with my workflow.

Personal and Mobile Hotspot with iOS and Android
Both iOS and Android devices have the ability to share their internet connection using tethering. It’s called Personal Hotspot on iOS and Mobile Hotspot on Android. In both cases, tethering can be achieved using Wi-Fi, Bluetooth, or a USB cable. More and more cellphone plans are throwing in tethering for free, although some plans implement a data cap limit on the amount of data that can be tethered in a monthly period. Some data plans, such as T-Mobile’s new ONE Plus International, offers unlimited 4G LTE tethering, but be sure to read the fine print; there might be data caps and throttling after exceeding 26-28GB of data per month.
Using your phone as a hotspot has a negative impact on battery life, so keeping a USB power bank handy is recommended. On iOS, Personal Hotspot turns off if it does not detect activity after 90 seconds. This can be a big problem with the 5D Mark IV, which itself turns off its Wi-Fi radio after a period of inactivity. Say you take a bunch of photos, which get successfully transferred from the camera to the phone. Then, you take a break for a couple of minutes. At that point, both the iPhone and the camera are no longer connected. If you take another photo, the camera will unsuccessfully try to connect to the iPhone. If you’ve left the Personal Hotspot settings page (i.e. went to another app or switched off the phone), the camera will not be able to establish a Wi-Fi connection until you return to the settings page.
Contrast this with Android’s Mobile Hotspot, which has the ability to keep its hotspot active between one minute to an hour or indefinitely. Being able to set a long timeout on Android is key to making this a “set it and forget it” workflow. With the iPhone, unless you use the method below, you’re always going to be returning to Personal Hotspot settings to re-enable it.
Tethering to a Wi-Fi travel router
To get around iOS’s timeout limitation, I am currently using a GL Innovations’ GL-AR300M mini router in wireless repeater mode or via USB tethering. Connecting to Personal Hotspot in either way circumvents the 90-second timeout period on iOS. This means I can use the iPhone in set it and forget it mode like an Android device.
This particular router doesn’t have an internal battery, so you’ll need to attach a USB battery pack with a USB Micro-to-USB-A cable. A benefit to tethering the iPhone via USB is that the battery pack will power both the router and the iPhone at the same time.

In wireless repeater mode, the router connects to the iPhone’s Personal Hotspot over Wi-Fi and uses the iPhone’s LTE connection as its connection to the internet. This has the added benefit of keeping the iPhone separate from the router, which is useful if you’re constantly using the iPhone and don’t want to get tangled in cables. Of course, if you have Personal Hotspot on all day, you probably will be plugging the phone into a battery pack at some point.
Ultimately, with iOS, you’re going to be carrying a few extra things with you besides your iPhone to get around this timeout issue: the router, battery cable, and the power bank. If you USB tether, you’re also looking at a Lightning cable. If you use Android, you’re only looking at just an external battery pack and charging cable for all-day coverage.
There’s some configuration needed to get the router communicating properly with the iPhone in both wireless repeater and USB tethering mode. I’ll be writing a future article that describes exactly what you need to do to get this up and running.
iCloud Photo Library’s cellular conundrum
This gives me no great solace to say (as an unabashed Apple enthusiast), but Android and Google Photos users have another advantage over iOS devices and iCloud Photo Library beyond the adjustable hotspot timeout setting. Google Photos can sync photos (and videos) over cellular connections, whereas iCloud Photo Library sync only works over Wi-Fi. This can be a big problem because while the photos you take with the 5D Mark IV are going up to iCloud Photo Library, Google Photos, and Dropbox via the Mac Mini server — and are available in the latter two over cellular — they are not going to show up in iOS Photos until you connect to Wi-Fi.
Were I to guess, Apple probably does this to prevent large data transfers over cellular data, which might have an impact on those users who do not have an unlimited data plan (remember the uproar over Wi-Fi Assist in iOS 9?). Uploading and downloading hundreds of megabytes or even gigabytes of videos over cellular may also negatively impact battery life. While these are good reasons, Apple should follow Google Photos and Dropbox’s lead in offering the user the preferences — off by default — to upload photos and videos over cellular data connections.

Fortunately, there are a couple of workarounds that users can implement to either:
- Get the iPhone onto a Wi-Fi network when no Wi-Fi networks are available
- Get the photos onto the iPhone immediately after taking them with the 5D Mark IV
Travel router to the rescue (kind of)
In the first workaround, we tether the iPhone to the mini router using a Lightning to USB cable. Then, we bridge the internet connection to the mini router’s Wi-Fi. The iPhone then connects to the travel router’s Wi-Fi. Even though the iPhone is still using its own cellular connection, because it’s “connected” to Wi-Fi, iCloud Photo Library sync becomes operational.
Caveats apply while on Wi-Fi
Note that when on Wi-Fi, iOS Photos seems to prioritize uploading of its internally shot photos and videos before downloading any un-synced photos and videos from iCloud Photo Library. It would be nice for uploads and downloads to be independent. That way, photos you take with the 5D Mark IV will still come in while uploads of photos and videos from the iPhone occur on a separate thread in the background.
Additionally, being on Wi-Fi and plugged into a battery pack may cause iOS devices to do perform iCloud Backups or other bandwidth hogging activities. Consider this before going the route to fake your iPhone into using its own cellular data connection via Wi-Fi.

Messages to the rescue while on cellular
Earlier, I wrote how when photos arrive at the FTPS server, they are dispatched to various places, including Apple Photos, Dropbox, and Google Photos. I also instruct Messages to send me an iMessage with a copy of the uploaded images. Doing this circumvents the need to do some weird workaround to get the phone onto Wi-Fi. I also don’t need to go to Google Photos (I use this for archival purposes) or Dropbox (which has its own set of sharing problems with its share sheet favoring the Dropbox link to the photo rather than the actual image). The photos come to me in an app that I’m already used to and in a format that’s easily shareable through the standard share sheet.
When I’m done with the images, I can just delete the whole Messages thread from the server. I can do this because I know that as soon as I get onto Wi-Fi, the images will sync into the Photos app.
Android and swapping SIM cards workaround
There’s another workaround that I just have to mention because it’s so ridiculous (yet it works well with one exception). I have an unlocked Samsung Galaxy Note 5 that I occasionally use for Android testing. Before I got the travel router, I was doing the following:
- Pull the SIM card from my iPhone.
- Put the SIM card it into the Galaxy Note 5.
- Go to Settings > Connections > Mobile Hotspot and Tethering
- Turn on Mobile Hotspot.
- Tap More > Timeout settings and change the timeout to Never timeout or 30-60 minutes.
- Connect both the iPhone and 5D Mark IV to the Note 5 via Wi-Fi.

This works surprisingly well. There are two things that I can’t do. The first is making a regular phone call (calls using FaceTime or Skype work fine without a SIM card). The second is that Messages will no longer work if my Mac Mini server was sending to my phone number. In this case, I’d have to configure the server to send the iMessage to one of my email addresses attached to my iMessage account.
Obviously, swapping SIM cards is not a long-term solution, but it does work in certain situations. And heaven help me should I accidentally drop and lose that nano SIM during a swap!
Carrying another iOS device
Finally, the last approach would be to bring an iPod touch or iPad with me. I’d activate the Personal Hotspot feature on the iPhone which the camera and iPad/iPod touch could connect to. As with the Android example, those devices would now be on Wi-Fi, and iCloud Photo Library would be none the wiser as it syncs. Alternatively, the iPad could have a cellular connection, and I could use it to create the hotspot that the phone could connect to. Of course, the big downside to this workaround is that I’d have to carry yet another device.
My current setup

Ultimately, in most cases while on the go, I’m going to go with the wireless repeater option with the travel router and iMessage notification. I figure it’s more important to get the photos instantly instead of having them in iOS Photos. If I really need them there for some reason, I could always USB Tether the phone and connect to the travel router’s Wi-Fi network. Additionally, from my phone, I can toggle Messages notifications, so if I get back onto Wi-Fi, I don’t have to be pinged every time an image comes in. I could also turn on Do Not Disturb in the Messages thread with my server, which would accomplish the same thing.
Of course, all of these convoluted workarounds would be made unnecessary if Apple would do two things:
- Provide the ability for users to adjust Personal Hotspot timeout settings
- Allow iCloud Photo Library sync over cellular
Send Apple a feature request using these forms here:
Speeds
The Wi-Fi module in the 5D Mark IV supports 802.11a/b/g/n on the 2.4GHz frequency band. I’ve been seeing connection speeds around 70Mbps. As a result, this works fine for JPEG files but not for RAW files. On my home network, it took 40 seconds for a single RAW file to be transferred, whereas a small JPEG took only a few seconds to appear on the FTP server. It’s unfortunate that the 5D Mark IV doesn’t support 802.11ac, which the WFT-8A for the Canon EOS 1Dx supports, because that would allow for file transfer speeds up to 433Mbps.
Battery life
If there’s one downside to this workflow, it’s that it’s extremely power hungry. Enabling Wi-Fi and/or the GPS module on the 5D Mark IV is a sure way to drain the camera’s battery fast. On the 1Dx with the WFT-E6A or the WFT-E8A, I could go all day on one battery. With the Mark IV, I’m seeing a quarter of the day with Wi-Fi (not GPS) on continuously. So, I’ve resigned myself to carrying multiple LP-E6 batteries with me. I’m also looking at picking up a charger for these batteries that can recharge itself over USB.
The iPhone needs more battery assistance if it’s running Personal Hotspot continuously. And, the travel router needs power too to keep Personal Hotspot active.

I am rotating between several small external battery banks that I’ve amassed over the years from conferences and events. Were I to upgrade, I’d consider a multi-port one from Anker. The company makes several external battery banks that have either two or three USB Type-A ports with massive power capacities. They could easily power my travel router, phone, and my LP-E6 battery charger at the same time for several days.
Final thoughts
With all these pieces working together, I now have an automated way to securely send images from my Canon EOS 5D Mark IV to my home computer, cloud photo providers and, most importantly, my iPhone. The camera now has the convenience of the smartphone to go along with its stellar image quality.

The 5D Mark IV is not an inexpensive camera at $3,499, but there is absolutely no reason why Canon or other camera manufacturers can’t easily add FTPS support to their cameras. Adding this one feature would instantly unlock the untapped potential in dedicated cameras and bring them one step closer to being on the same level as smartphones when it comes to sharing convenience.
Collected below are improvements I’d like to see on both iOS and on the camera.
- iCloud Photo Library sync over cellular
- Personal Hotspot timeout adjustment
- 5GHz and 802.11ac Wi-Fi support
- More connection settings
- Ability to define wireless connections separately from FTP connections
- Ability to save settings to a card
- More reliable FTPS support
- SFTP support
Purchasing links
Below are some links for the products that I have mentioned in this article. Some of the links are affiliate links, which mean I may get paid a small fee should you purchase something from the link. Thanks for supporting this website!
- Canon EOS 5D Mark IV on Amazon
- Apple Mac Mini
- macOS Server software
- Maxum Development Rumpus FTP Server, FileZilla Server, or pureFTPd Server FTPS servers
- FreeDNS, No-IP, DuckDNS, DNSdynamic, or Dynu Dynamic DNS providers
- Hazel
- Exiftool
- Photo Mechanic
- GL-AR300M Mini Travel Router on Amazon
- Anker PowerCore 20100 with Two USB Ports on Amazon
- Anker PowerCore II 20000 with Three USB ports on Amazon


Leave a comment